


Every year we try and think of a thoughtful, yet inexpensive gift to get all the people in our lives like teachers, dance instructors, neighbors, and friends. The list is usually long, so we’ve learned that if we make a large “batch” of something it is much, much simpler than buying for every person individually. Last year we made homemade vanilla extract. It was super simple and pretty to hand out. This year we tried our hand at making candles, and I was surprised at how simple it actually was. I read several posts, like this one, which explained in detail how to make these candles. Then we gave it a try. I’ll share with you our process below (with a few tips we learned along the way)
First gather all of your products that you’ll need:
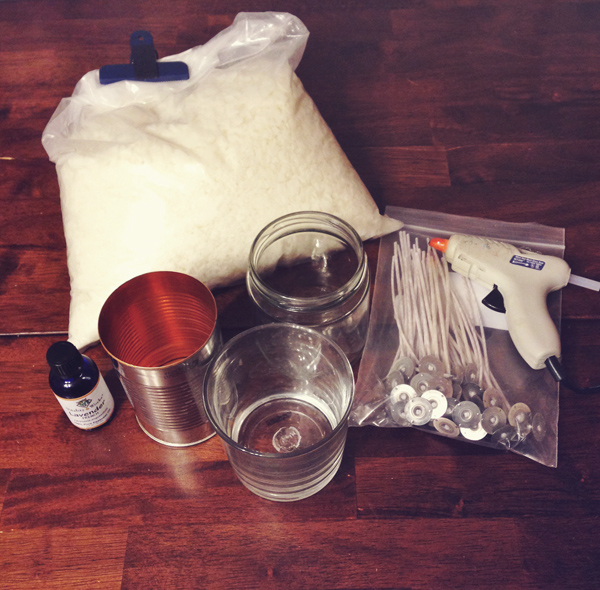
- Wax (we use soy wax because it burns clean). We found this wax works really well.Wicks. We used these.
- Containers. We saved glass jars and cans and purchased some new mason jars. You can really use any heat safe container. You will need approximately 1 pound of wax per 16oz container.
- Hot glue gun (if your wicks aren’t self adhesive).
- Essential Oils to scent your candles (optional, but we burn a lot of candles and I like them to give off an aroma). We chose a pure essential oil, because other chemical fragrances can either be harmful to breathe in or give people headaches.
- Stove or burner.
- Pouring pitcher.
Here is our process:
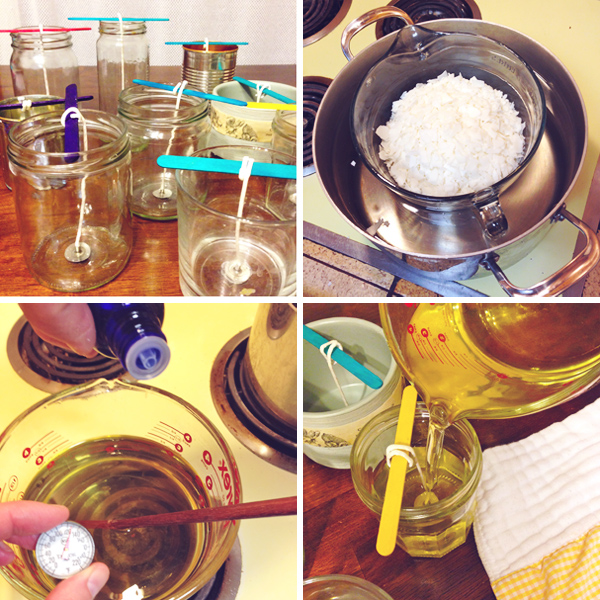
- Adhere your wicks to the bottoms of the containers.
- Secure the top of your wicks in the middle of the container. We simply wrapped the wick around popsicle sticks, but you can buy these if you want.
- Make a double boiler with the pouring pitcher in a large pot of water.
- Heat water and continue stirring as your wax begins to melt. Time will vary depending on how much you are melting at once (approximately 10 mins for a 2 pound batch)
- Add your fragrance. Let wax cool to between 100-110 degrees fahrenheit before adding essential oils as to not damage or burn the oil.
- Pour into your containers without moving the wick.
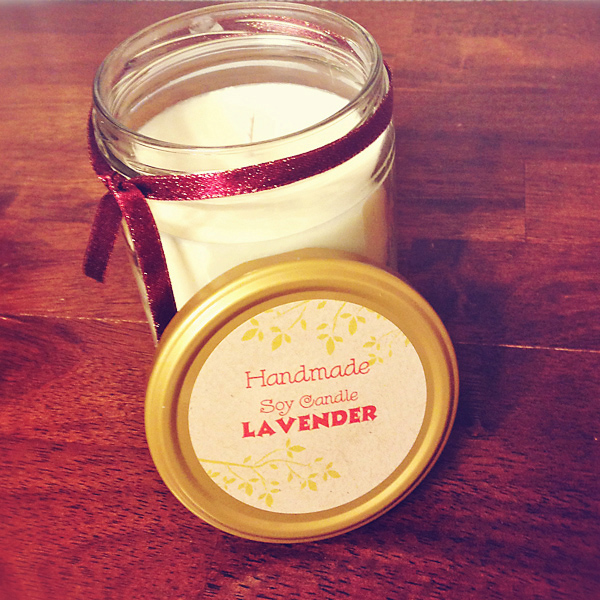
- Allow to dry and harden over night.
You are done! If you want to add a personal touch, attach a handmade label and pretty little bow. ENJOY!

")


Those look fab. I might have to try this now with my kids. Thanks for sharing.
[…] with the ones you purchase or making your own (here’s a few of my favorite homemade recipes: candle recipe, deodorant recipe, laundry detergent […]