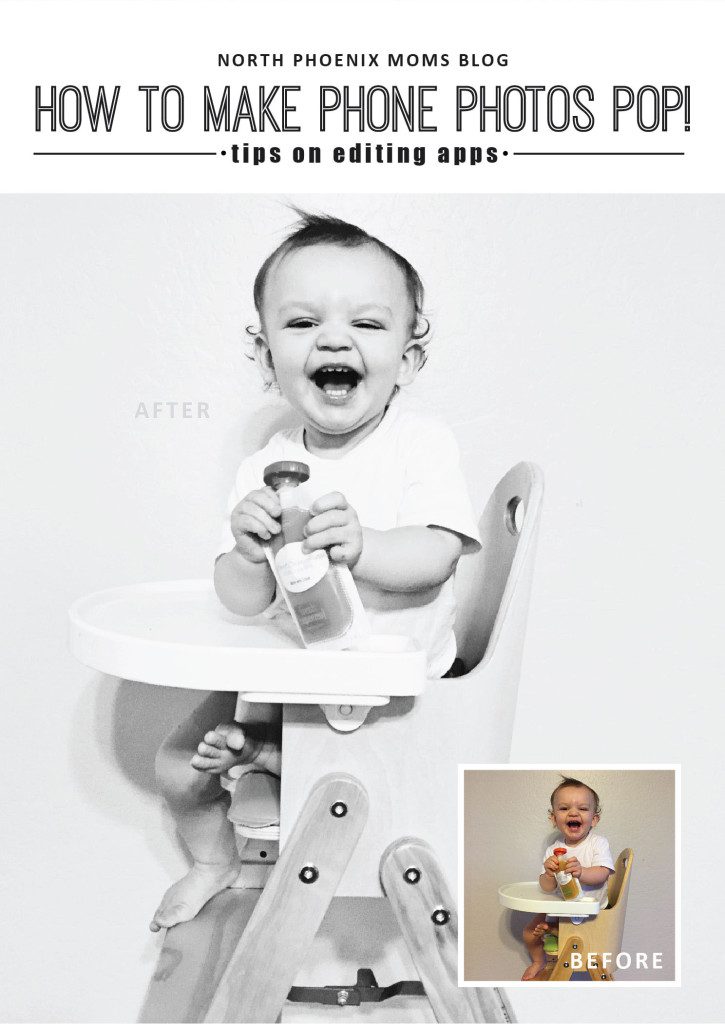
 Want your photos on your phone to really make an impact?! We are guessing your answer is YES! So many of us rely on our camera phone these days because, let’s face it, a DSLR is great but it’s not always the most convenient item to tote around. I personally depend on my iPhone more and more for photos because typically I have 3 kids in tow, a diaper bag, a purse, keys and more! You get the picture [pun intended…hehe!]
App Selection. First off pick an App you love! My top two favorites are Snap Seed and Rhonna Designs. I will cover these two in my post. I will walk you through the steps I take to quickly edit my photos before posting.
Others Apps I have used and like include:
STEP 1 – Snap AWAY! I mean it. Take tons of pictures of your subject! NATURAL LIGHT AND A CLEAN BACKGROUND ARE CRITICAL < thus the need for me to type in all caps and bold…I am kindly SHOUTING this. Ha! I typically pick a bare wall that is across from a window at home. This allows for a clean, well lit setting. If photographing a smaller object, I might take it outside and place it on a white surface to increase the amount of natural lighting.
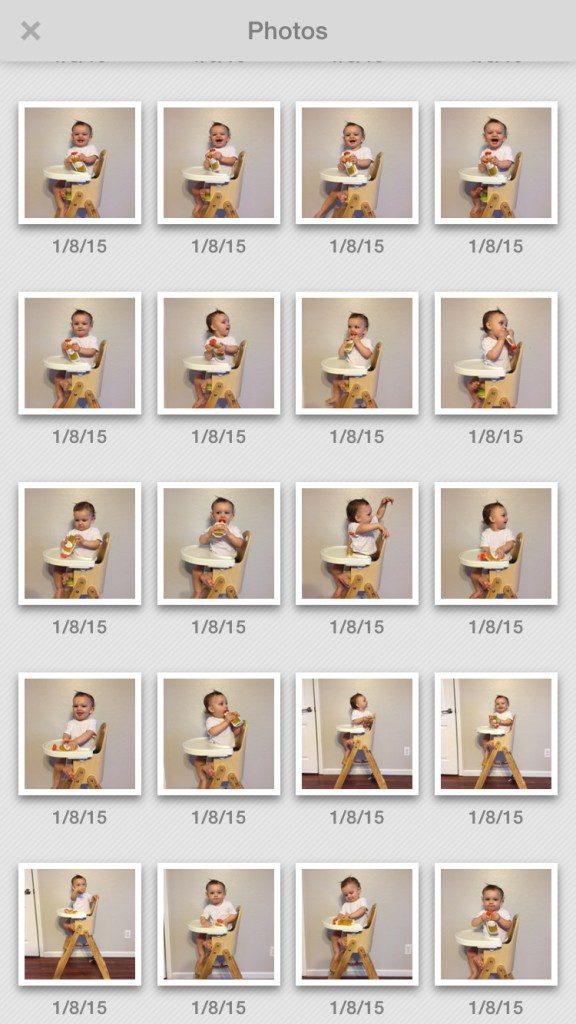
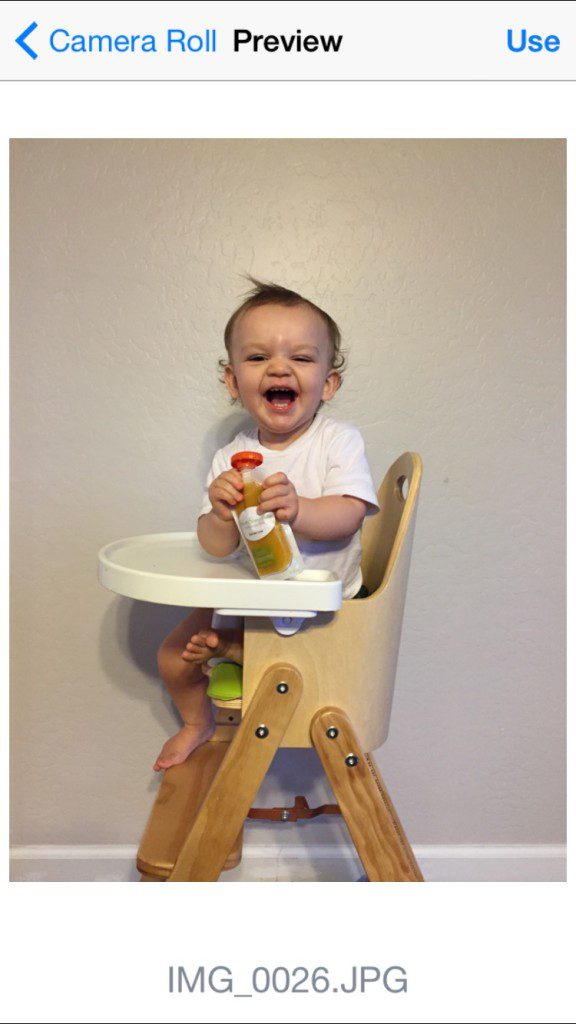
Step 2 – Review the gallery and select your photo to edit.
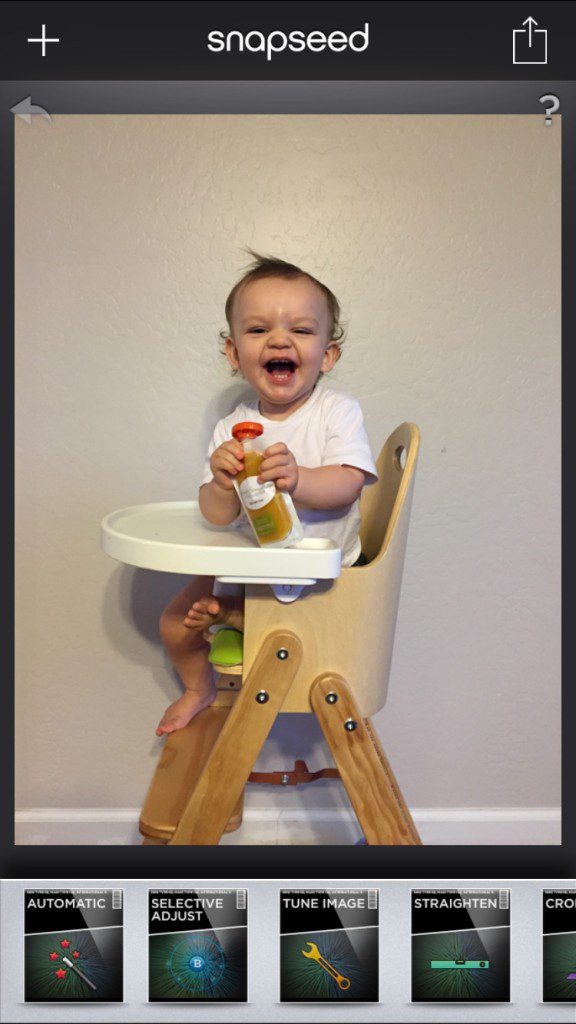
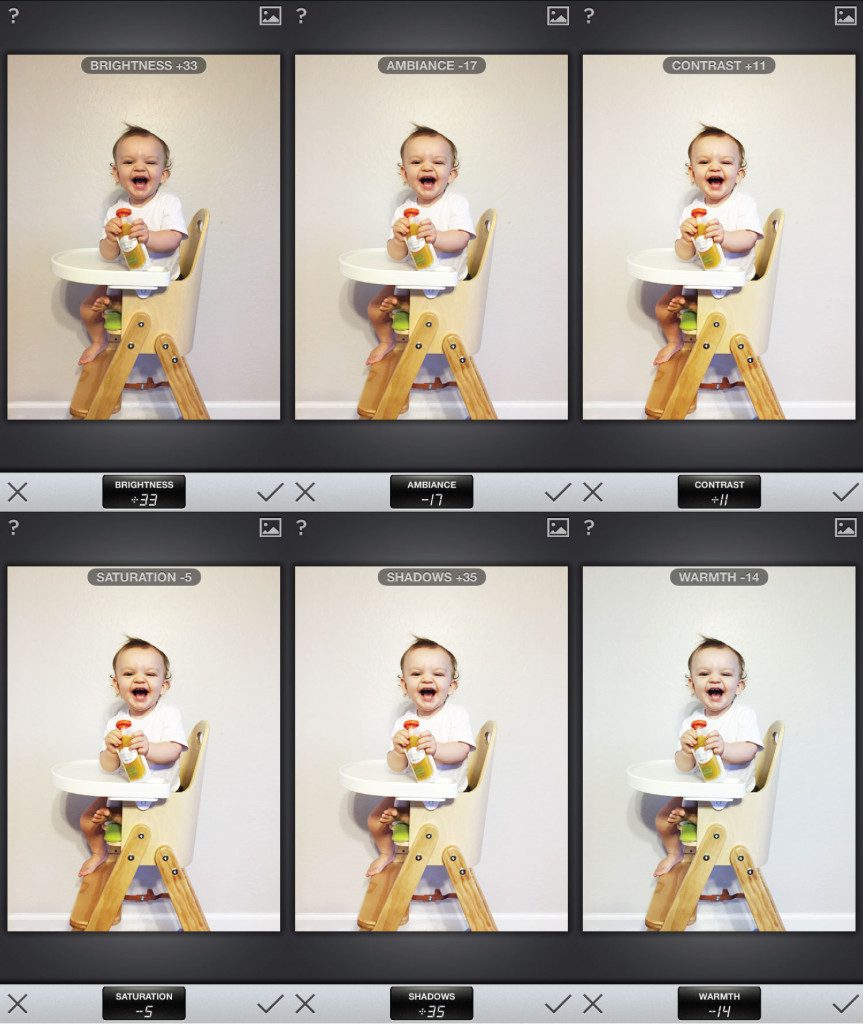
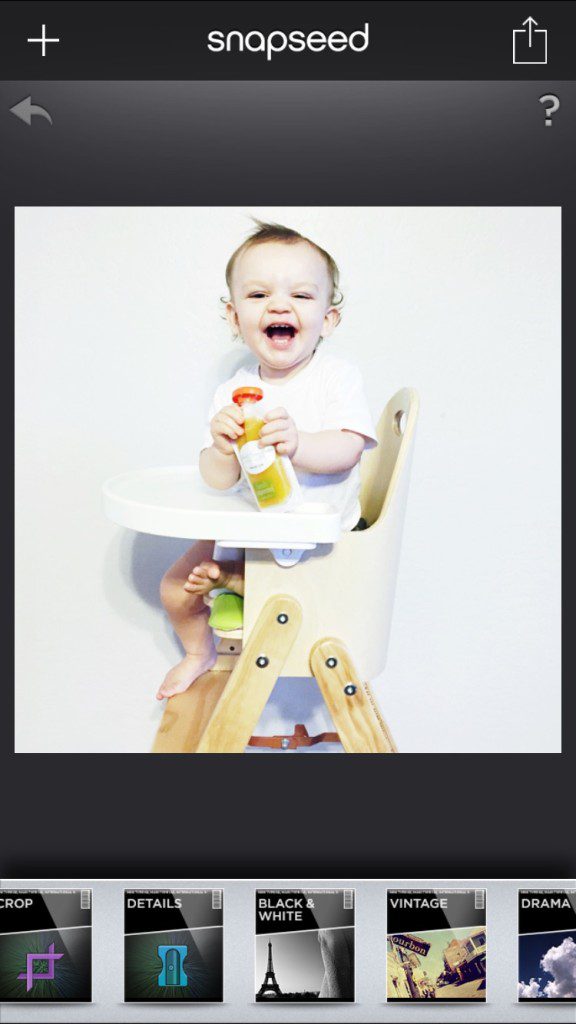
Step 3 – I start with Snap Seed because I find that the Tune Image option really cleans up my photos so nicely. I love the ability to adjust Brightness, Ambiance, Contrast, Saturation, Shadows and Warmth of the picture. Unless I have perfect lighting I typically run all my photos through this as a starting point. It’s necessary, BELIEVE ME.
On this photo I used 33% (Brightness), -17 (Ambiance), +11 (Contrast), -5 (Saturation), +35 (Shadows) and -14 (Warmth) to achieve my desired look. This will greatly vary on each image you take due to lighting, subject, background, etc. You can already see the improvement in picture from the 6 quick adjustments made.
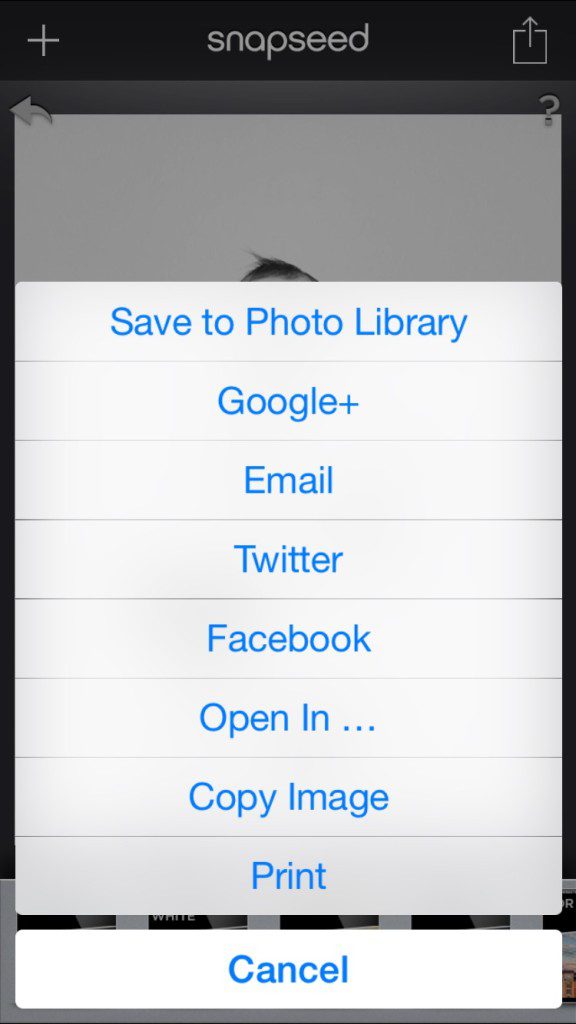
Step 4 – Once you have tweaked the settings to your liking simply save the image to your Photo Library by clicking the check mark at the bottom right of the picture seen above. My color editing typically involves a 2-step process using both the apps because I love the filters that Rhonna Designs offers but I ALWAYS “tune” my images with Snap Seed.
***For Black and White images scroll to the bottom of this post.
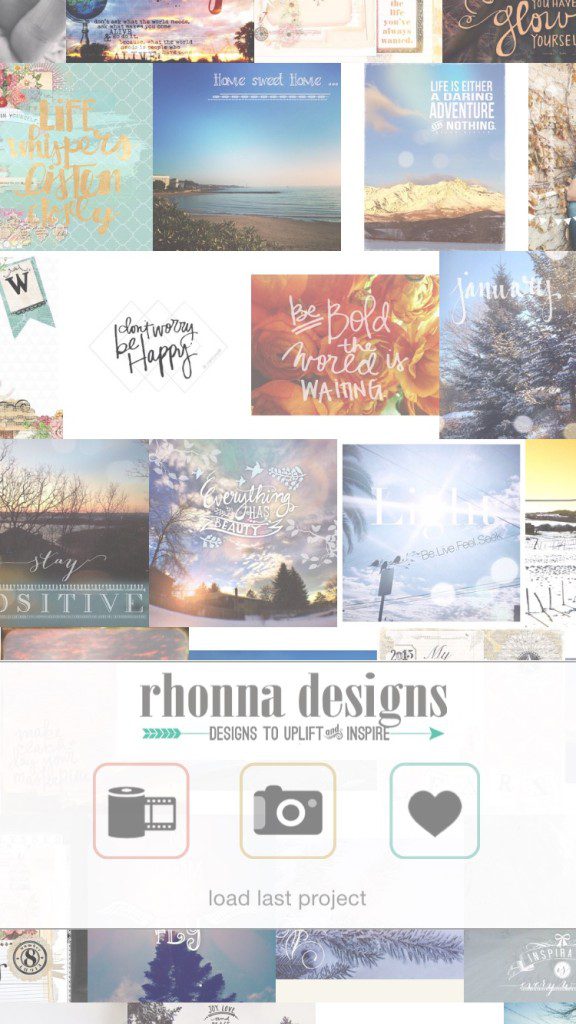
Step 5- Open your photo in the Rhonna Designs App. As mentioned I love the filters that the Rhonna Designs App offers so that is the reason to take this extra step. There are so many cute designs and fonts too. This editing tool is a MUST for making those phone photos pop!
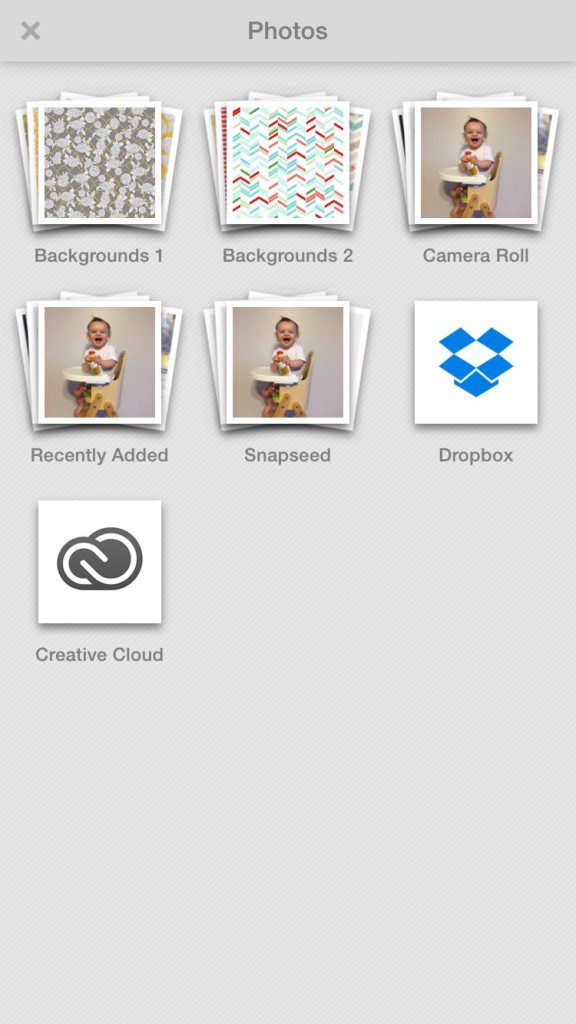
Step 6 – Select your image from the Photo Library
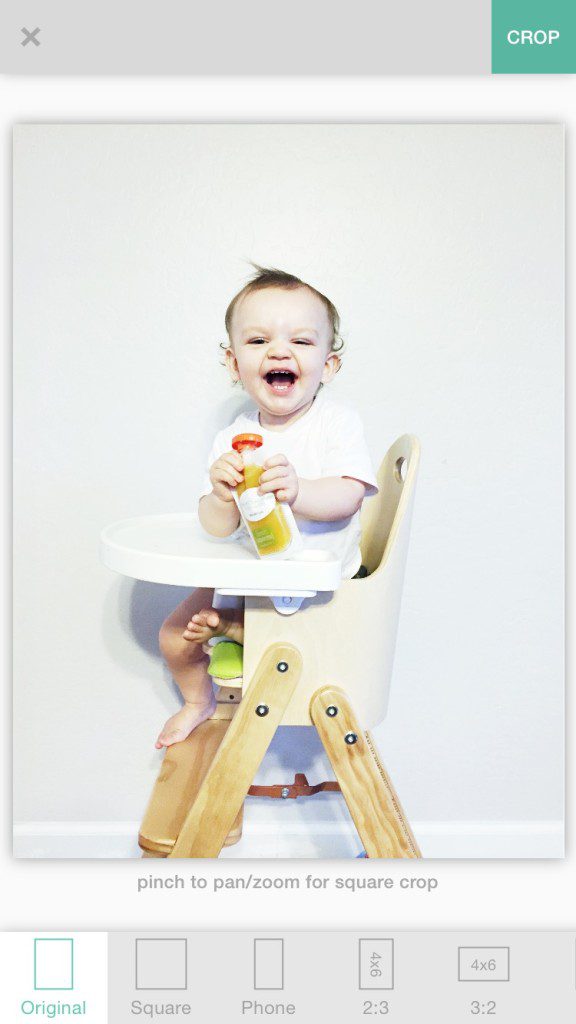
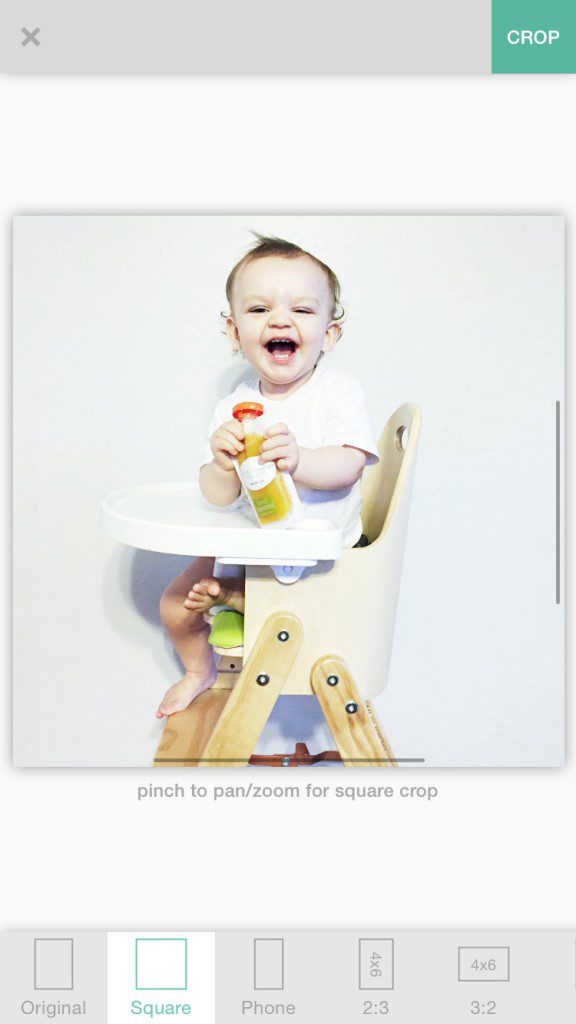
Step 7 – Use the pinch and pan to zoom in/out to crop off any areas you don’t want in the final image.
I typically crop to a square image but sometimes keep it at the original size. Notice that I cropped off the bottom of the high chair and floor boards so that the focus is more on this happy little and his baby food. Press the green crop button on the top right as seen in the picture below.
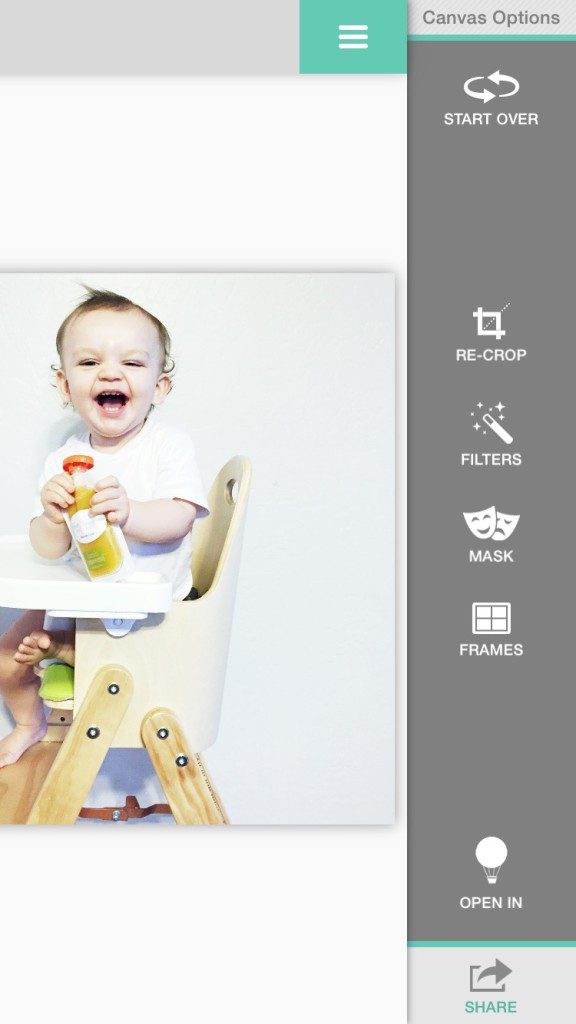
Step 8 – Click the Canvas Options button (green button with 3 white horizontal lines stacked on top of each other) to adjust the images with the filter button…it looks like a magic wand.
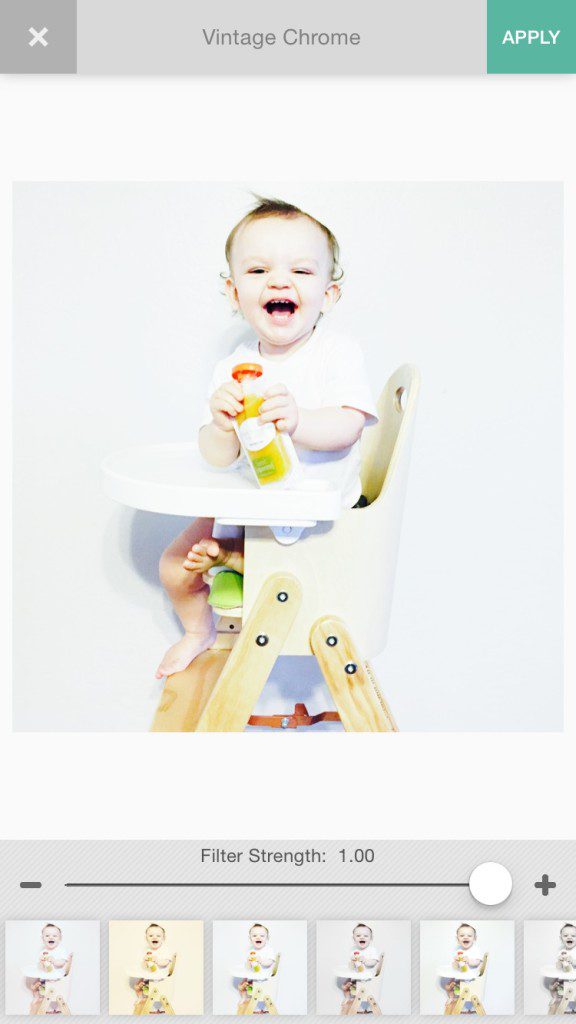
I like using the Rhonna filters for that extra punch. My favorites are Vintage Chrome, Fade and Exposure. I used Vintage Chrome on this image to brighten that yummy sweet potato pouch a bit.
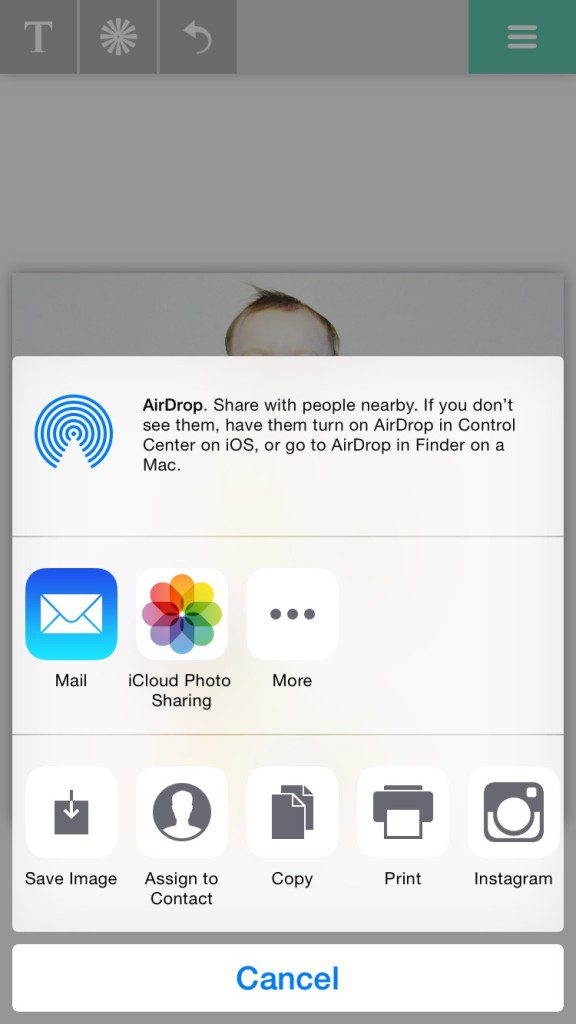
You can adjust the filter strength by moving the white circle along the bar. I usually leave the strength about 25% as seen in this example. Simple click the green apply button at the top right in the picture above. This will allow you to save or send the final image. I almost always save the image to my phone so I can share with others. You don’t want to do all that editing work and not have the original image file. 🙂
VOILA! A color phone photo with LOTS OF POP!!!
BLACK & WHITE PHOTOS
Follow Steps 1-3
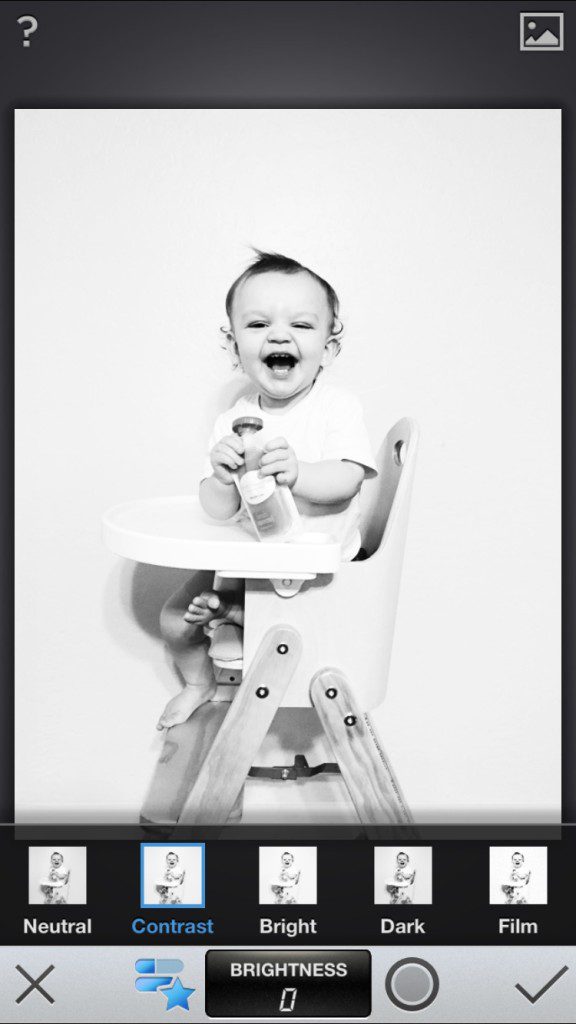
Step 4 – Once you have reach the desired balance for your image you can use the Black and White button to convert your images color.
On the bottom bar click on the black and white button. You have 5 filters to choose from and on this image I used the Contrast look.
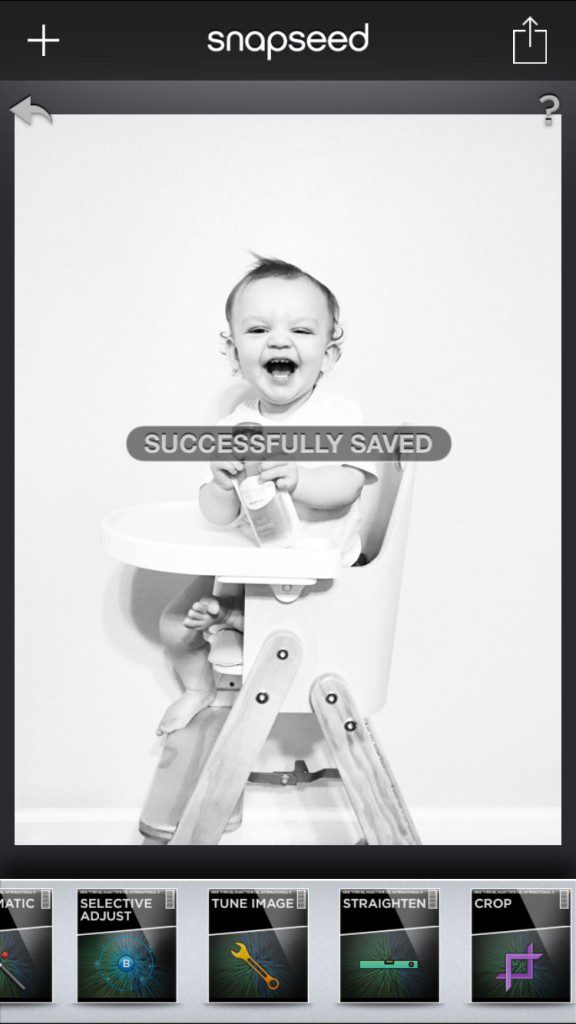
Simply save by clicking the check at the bottom right as seen in the picture above…and SUCCESS! A phone picture that you can be proud of!
What did you think of our quick “How To”? What tip/step will you use next time? We want to know so comment below!








Great post! I’m so excited because Snap Seed is my fav too, but I didn’t know about the multiple black and white filter options! YAY for new info! Excuse me while I edit my photo! Hehehe! 😀
So glad I could share something new with you! XO!