Is your little one in desperate need of their own “space” to draw, play, or even snack? Maybe you’re on a strict budget so one of those completely adorable toddler activity tables from the store is just a bit too pricey to commit to? Perhaps you could purchase a generic one secondhand, but you’d rather have one that’s a bit more easy on the eyes and/or fits the style of your home? This DIY activity table is for you! For under $50, I was able to make my own adorable (if I do say so myself!) toddler activity table for my little one!
What You’ll Need:
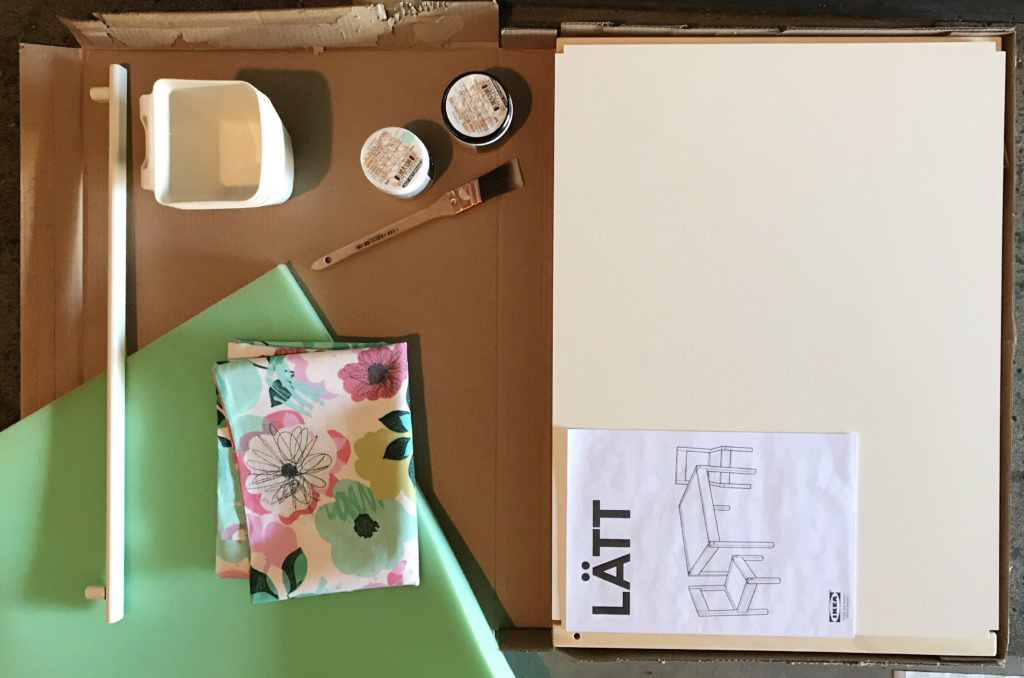
- Table and chairs – $19.99
- Rail – $1.99
- Tubs – $0.79 each
- Fabric – $6
- 1 inch foam – $8
- Paint (sample size) – $7
- Paint brush
- Staple gun (or reasonable alternative)
- Scissors or x-acto knife
- Glue *optional*
Set up your work station.
I utilized the box from the IKEA table set as my set up and painting area (see above).
Assemble the table and chairs.
I assembled everything ahead of time so I could get my first coat of paint done in one fell swoop.
Paint.
I purchased sample paints from Lowe’s and had way more than I needed to cover the surface of the chairs and table. I chose a mint color for the chairs and an off-white color for the table. Be sure to use varied brush strokes so it doesn’t streak!
TIP: Paint the wood before putting it together. I didn’t do that because I’m impatient and I thought it’d be more efficient to paint with it put together so I could reach all sides of the table/chairs at once and avoid waiting for each side to dry before starting a new one. It was definitely more time efficient, but I’m positive it would look more “clean” had I done it the other way.
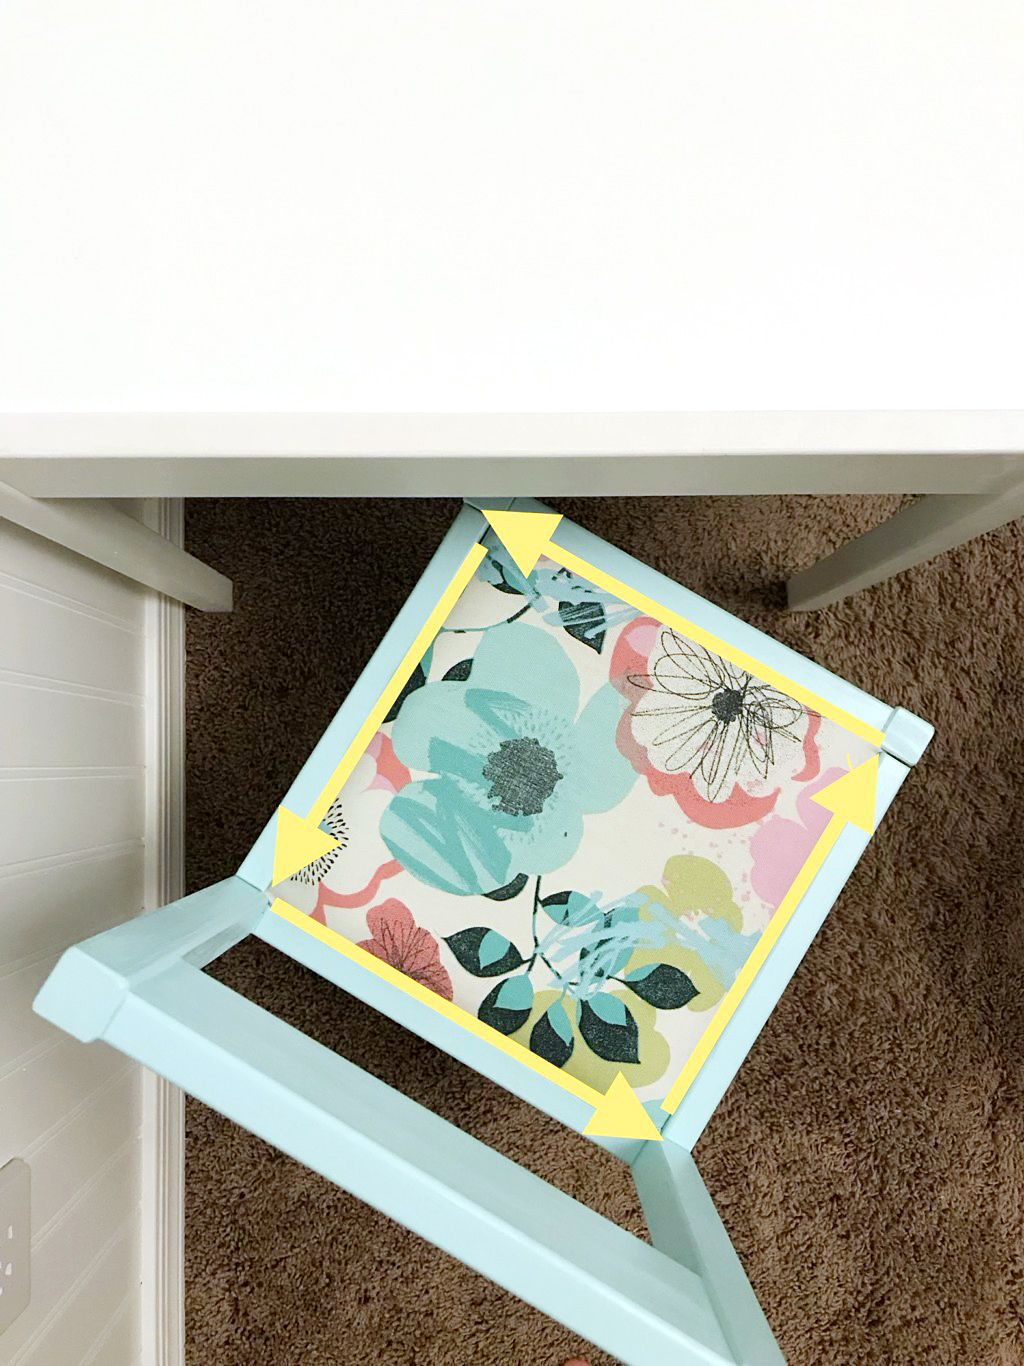
Cut foam to fit inside section of chair.
You can do this a few ways, but I measured the opening where the seat would fit while my chairs were assembled. This gave me a more accurate measurement of exactly how large a surface area I’d like my foam to be. You can use the chair inserts they provide you, but you’ll want to take about a quarter of an inch off each side to account for how the seat slides into place. The foam was surprisingly difficult to cut through so I ended up using an x-acto knife to ensure my lines were straight.
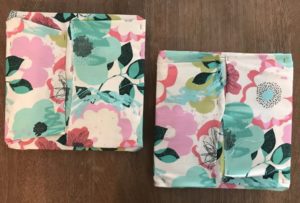 Upholster.
Utilizing glue, secure the foam to the center of the fiberboard seat (this is optional, but helpful). Stretch your fabric evenly, print side up, over the foam. Keeping your pieces together, flip over the fiberboard and fold your fabric pieces into place. I didn’t do any fancy folding, just pulled everything tight enough so there wouldn’t be any lumps or bumps. Secure with staple gun.
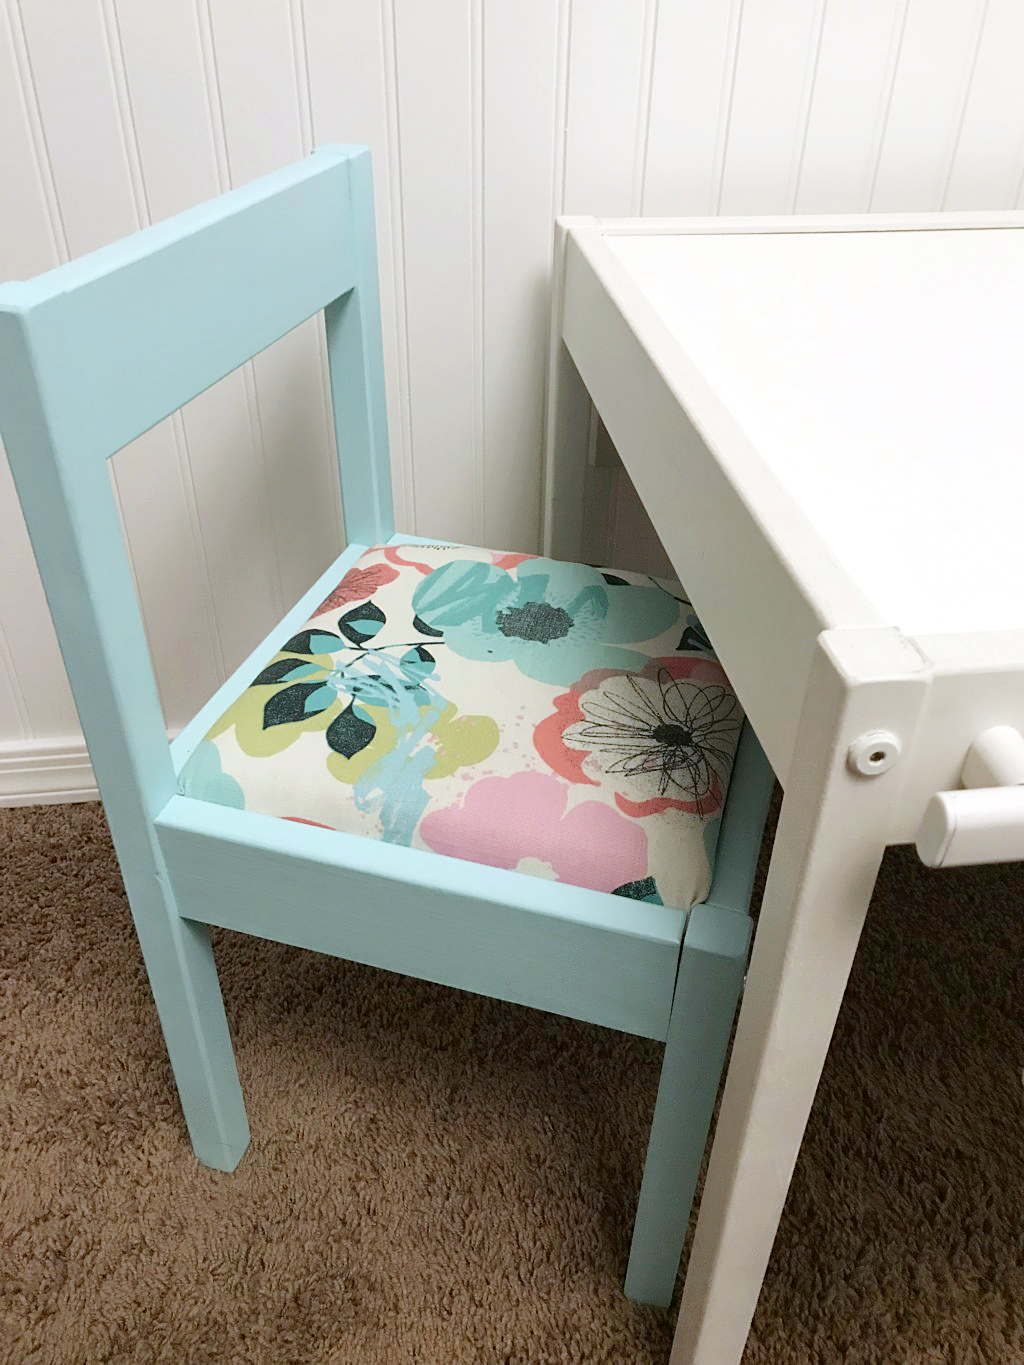 Disassemble chair to insert seats.
I disassembled the front piece of the chair first to see if I could just slide my finished seat cushion into place. I figured it might need some gentle pushing, but truly wasn’t prepared for how tight of a fit it was. Depending on the size foam you select and the fabric you choose, you may be able to just slide it into place, but that didn’t work for me. After some trial and error, I sanded down the slots in each side of the chair to make it easier to get my pieces in. Just do it ahead of time; it’ll make your life a lot easier.
TIP: Do not “bang” the seat cushion into place. It can be really tempting to just muscle the seat into place once it’s upholstered – I DON’T RECOMMEND THIS. It’s ridiculously easy to split the wood and it’s just not worth the risk after you’ve put in the time to paint, upholster, and assemble it.
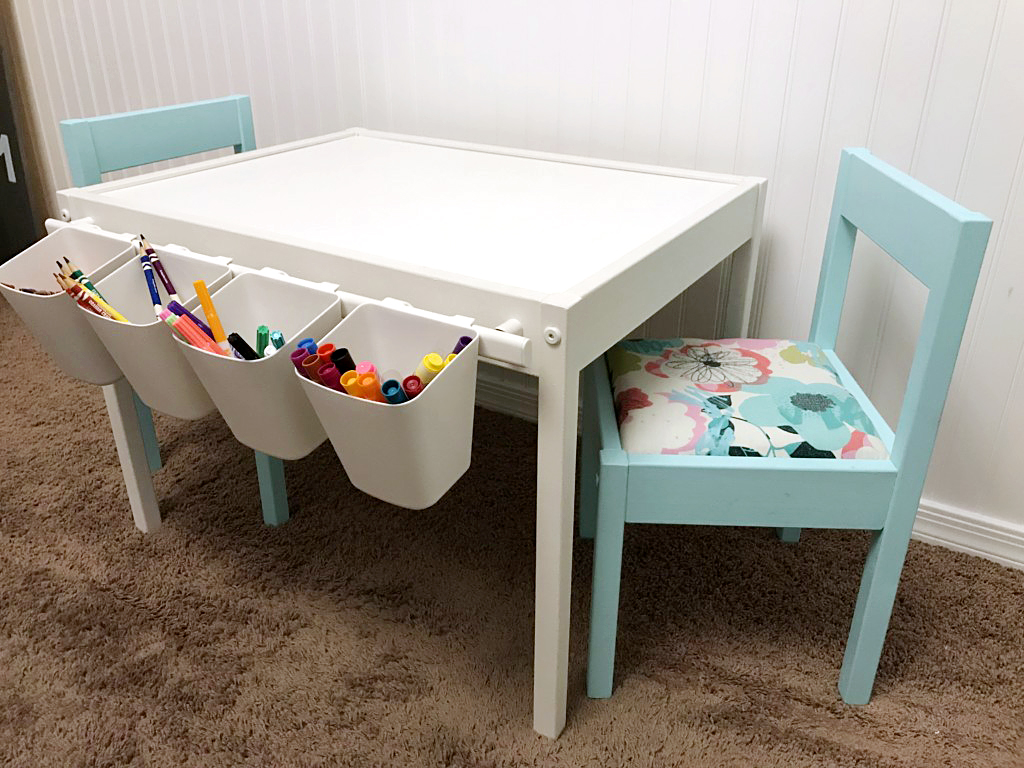
Secure rail to the side of the table.
Choose a side, center the rail onto the side of the table, and use a pencil to mark where each screw will need to go. IKEA does NOT include screws with this rail system, so you may need to purchase some or use any that you have lying around the house (like I did). Screw into place, then put the rail on top of the screws. Place buckets onto rail and VOILA!
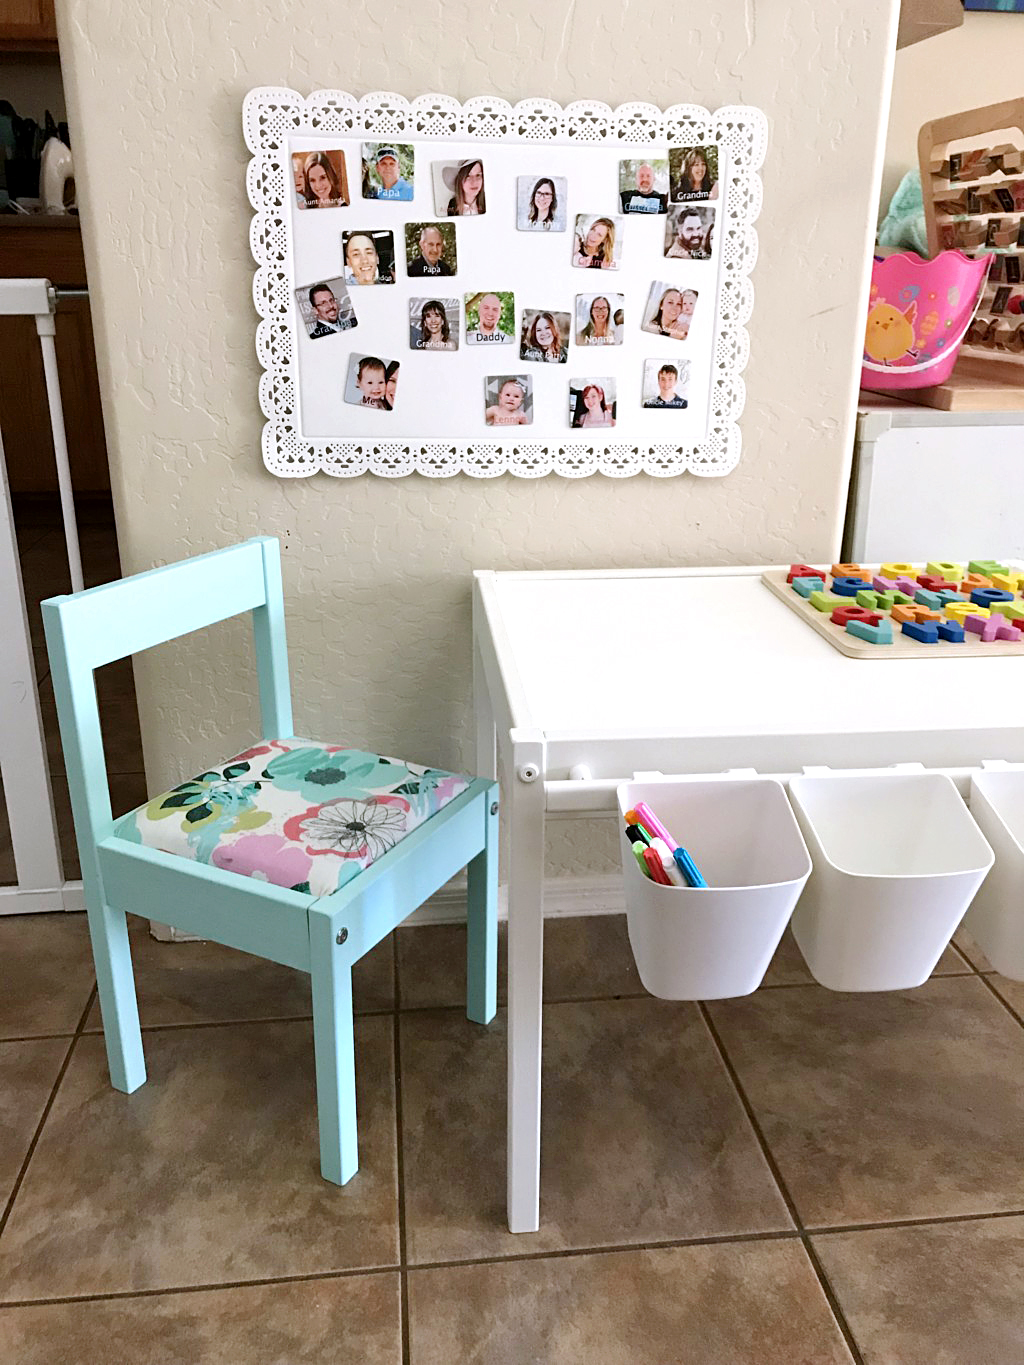 You did it! This took me approximately 2 hours to complete (not including time for the paint to dry) and the end product is swoon-worthy! A fully personalized, functional, and cute toddler activity table for under $50! If you give it a try – please let us know in the comments below and share your results using #nphxmoms! We’d love to see your gorgeous creations!









So was the rail and buckets from IKEA also and what is the name? Thanks!!
Yes, they’re both from IKEA! Under the materials list, it should link directly to the product pages… the SUNNERSTA Rail and SUNNERSTA Containers! Happy DIYing!
What’s on the magnetic board? Pics of family? I love that idea!
Yes! Family members and their names 🙂