


If you are part of the Pinterest world, you have probably seen the idea of sensory bins floating around. If you are anything like I was, you are probably wondering what in the world they are and what is the purpose. Now, after 2 ½ years of sensory bins in our home, we still love them! Here is a little Sensory Bin 101.
What is a sensory bin?
A sensory bin is simply a container filled with some type of material that will provide a fun, sensory experience for your child. Easy, right?
What is the purpose of a sensory bin?
This depends on how you look at it. Sensory bins provide a wonderful, and educational, experience for your child. Not only are they receiving the sensory stimulation, but they are learning about cause and effect, developing fine motor skills, engaging their imagination, along with many other skills. However, if you ask me, they are simply a terrific way to entertain your child and keep them busy for longer than 5 min at a time! As a mother of two young children with another on the way, this is invaluable. And frankly, they’re just plain fun.
What age range is best for sensory bins?
There is no specific age range that is “right” for sensory bins. I started with my son just after he turned a year old, and he still plays with them at 3.5. My daughter started even younger, as soon as she could sit up. If I’m being completely honest, at 30 I still enjoying playing with them from time to time!
*Disclaimer – Always make sure to supervise young children while using sensory bins.
How do you make a sensory bin?
Sensory bins are actually quite easy to make, and you can make them as simple, or complex, as you would like. Here are some easy steps to follow to put a sensory bin together.
1. Find a container – Any type of bin, basket, bucket, etc. will work. It should be large enough that your child can easily manipulate the items inside, but also small enough that it is portable. I prefer mine to have a lid also, because I keep the same sensory bin around for about a month at a time. I had these from the Container Store and they have worked great, but any container will work.
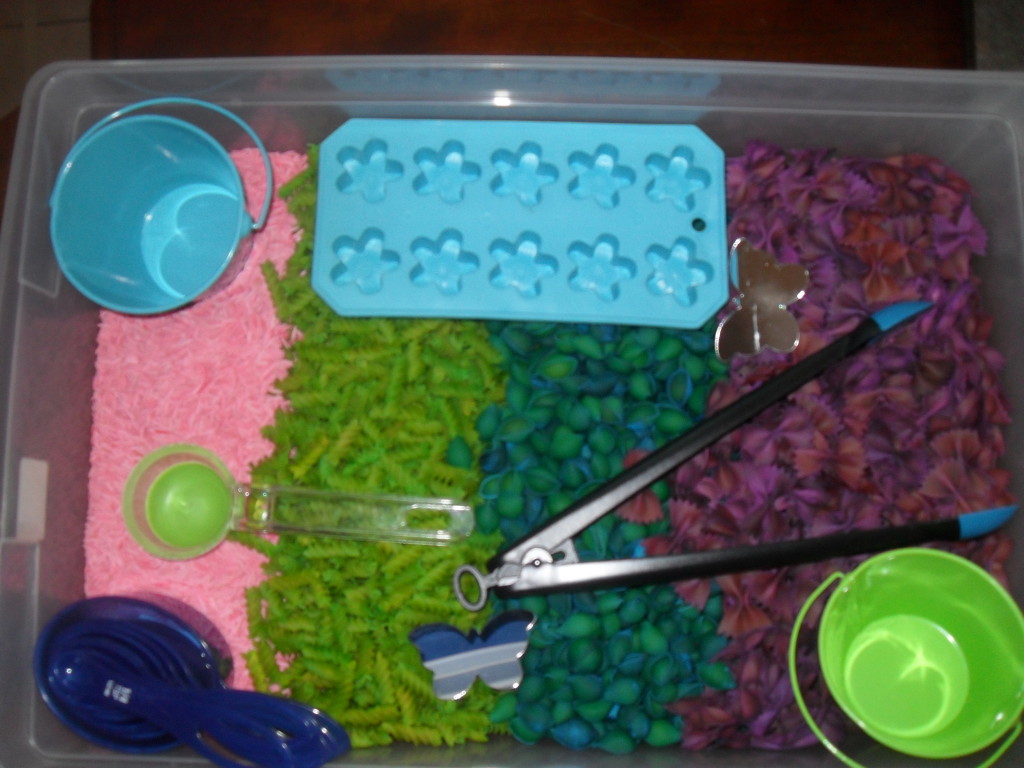
2. Decide on your sensory filler – In my mind, I break down sensory bins into 3 parts: the filler, the tools, and the props. The filler is the main sensory material that you are going to fill your container with. Most of the time, I like to use the dry ingredients because they are easy to store, require less clean up, and can be reused over and over. However, the messy options are a lot of fun to pull out on occasion! Here is a list of some ideas:
Dry options:
- Beans
- Uncooked pasta (find instructions here to dye your pasta different colors)
- Rice (use the same instructions to color rice)
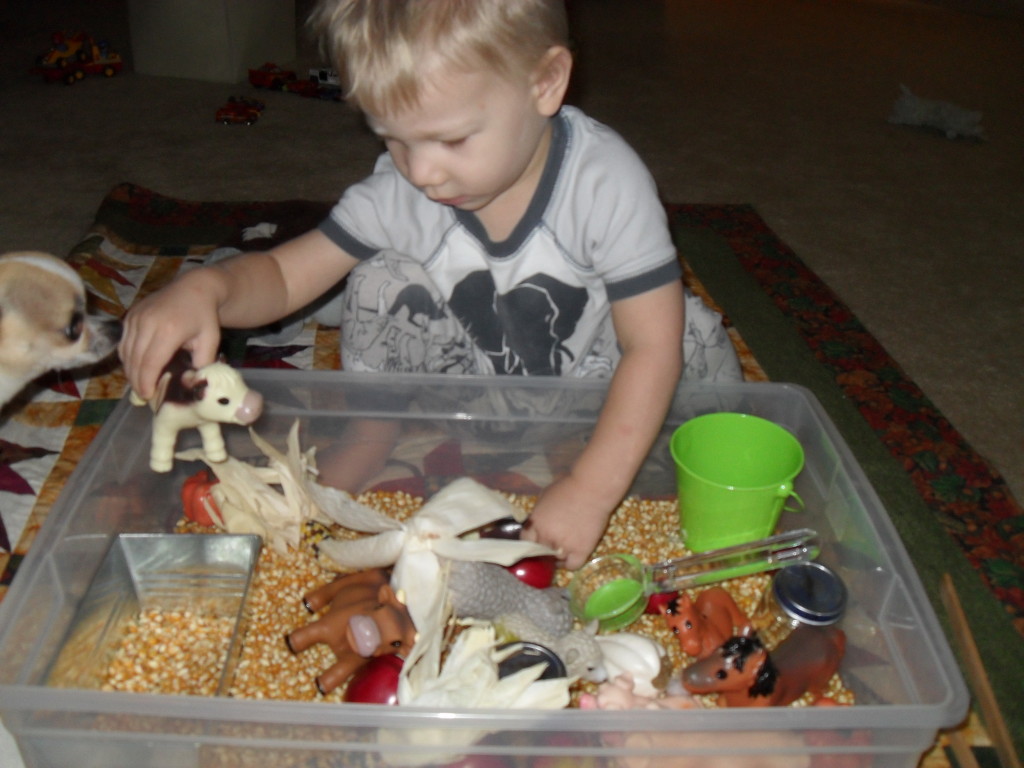
- Corn kernels
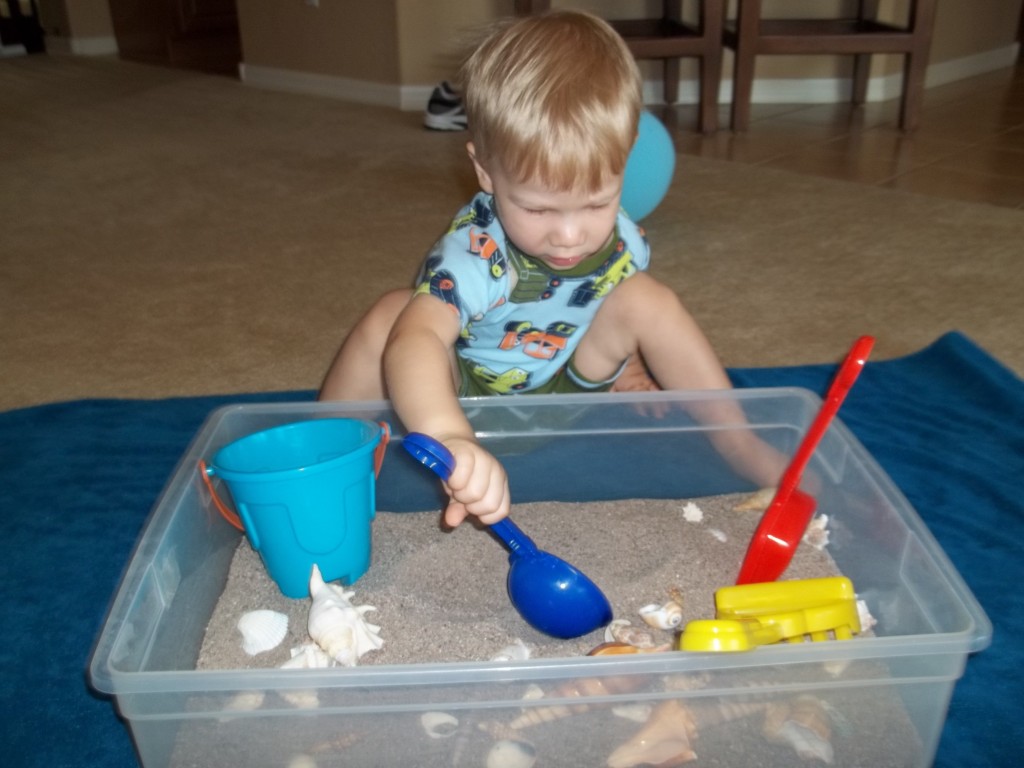
- Sand
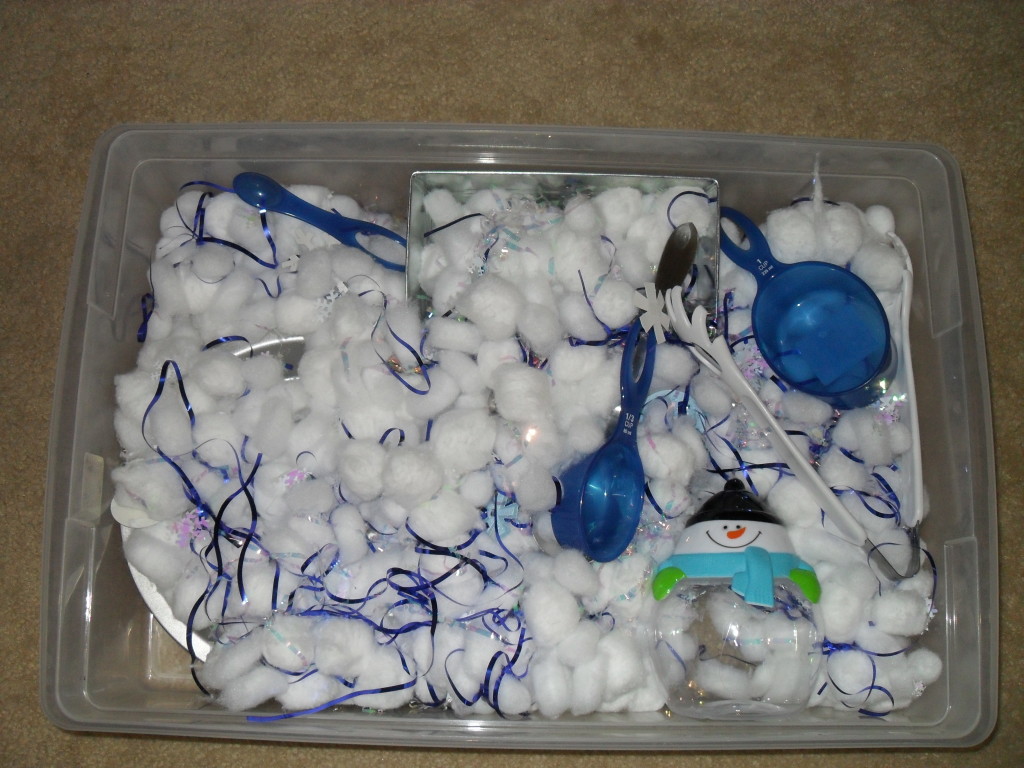
- Cotton balls or puff balls
- Gravel/rocks
- Bird seed
- Shredded paper
“Messier” options:
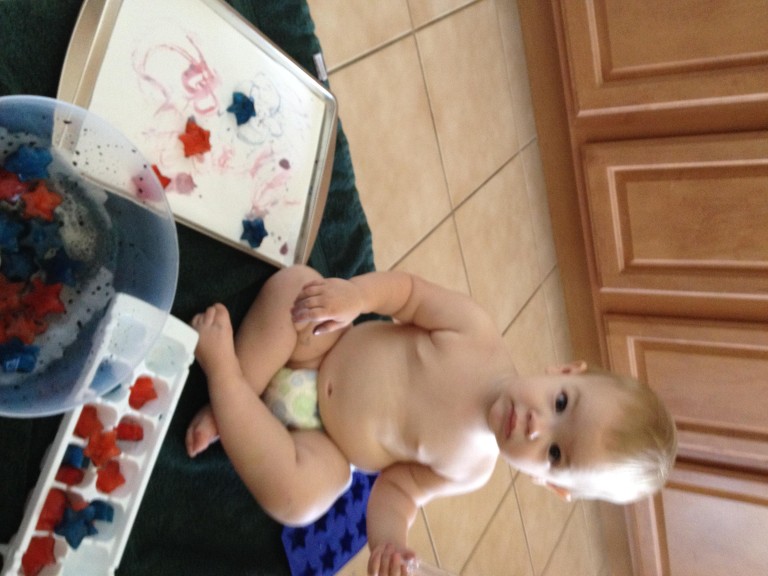
- Water/soapy water/ice
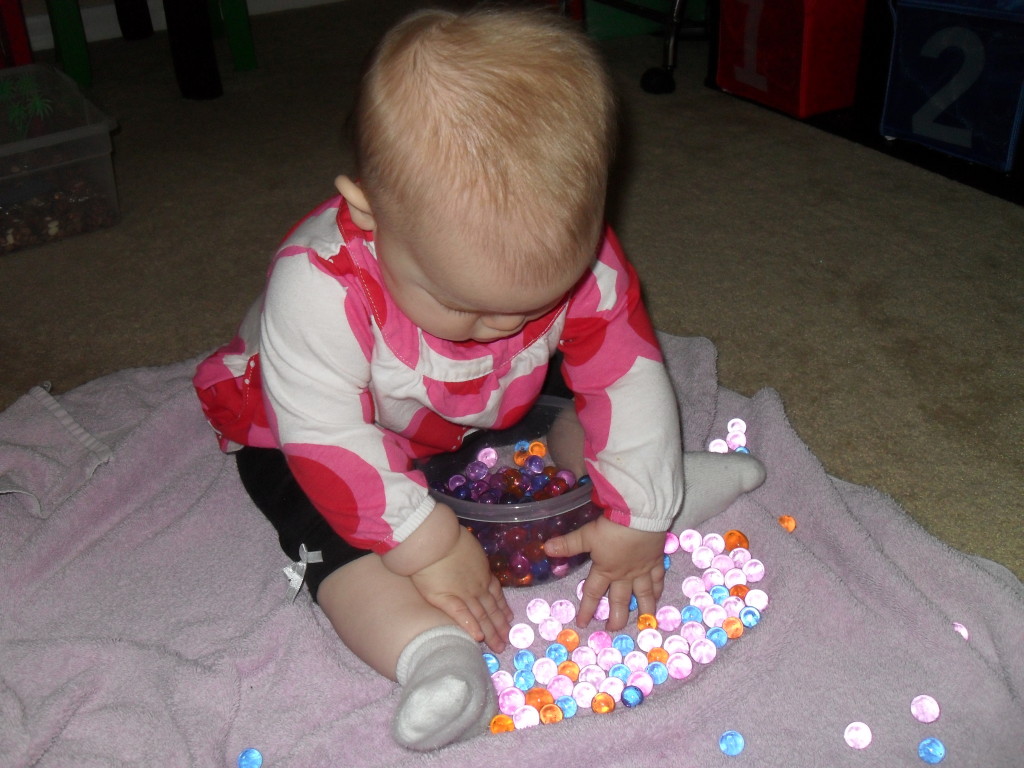
- Water beads (these are so fun to play with if you’ve never used them!)
- Shaving cream
- Oobleck
- Jello
- Insta snow
- Cloud dough
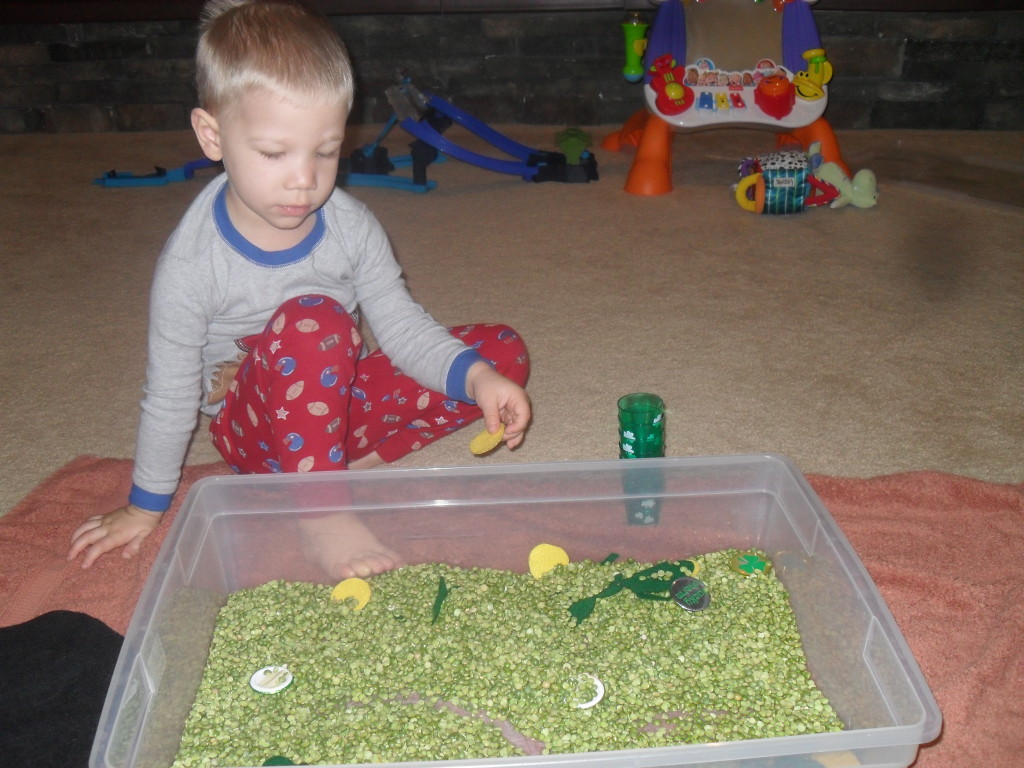
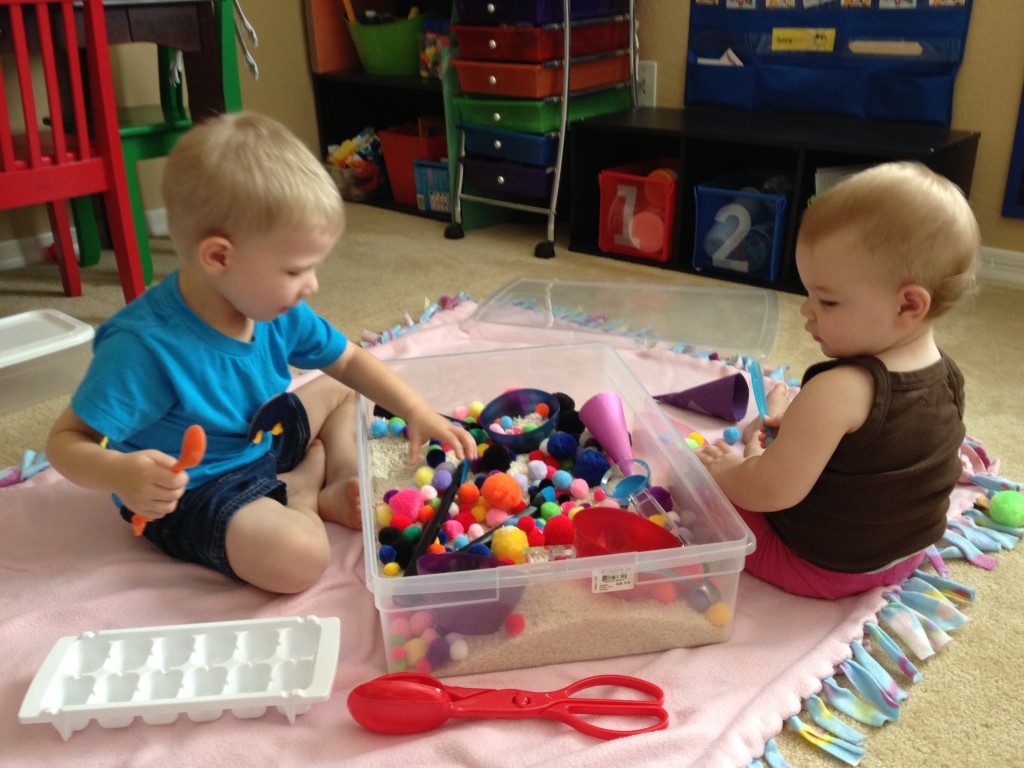
3. Add your tools – Once you have your sensory material in, start adding some different tools for them to use. You will want things they can scoop and pour with, such as different types of spoons, scoops, shovels, measuring cups, etc. Along with that, you will want containers they can pour into, such as bowls, buckets, small tupperware, ice cube trays, etc., Tongs or tweezers are a great addition for working on fine motor skills and some construction trucks add a fun imaginative element. Use whatever you have laying around!
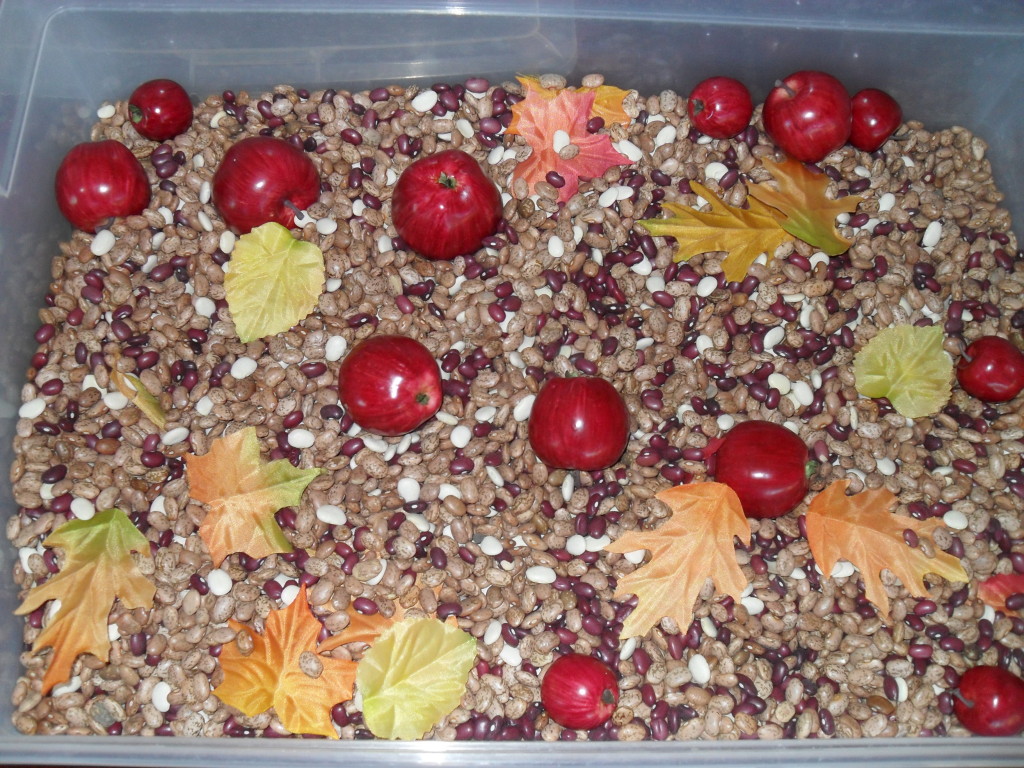
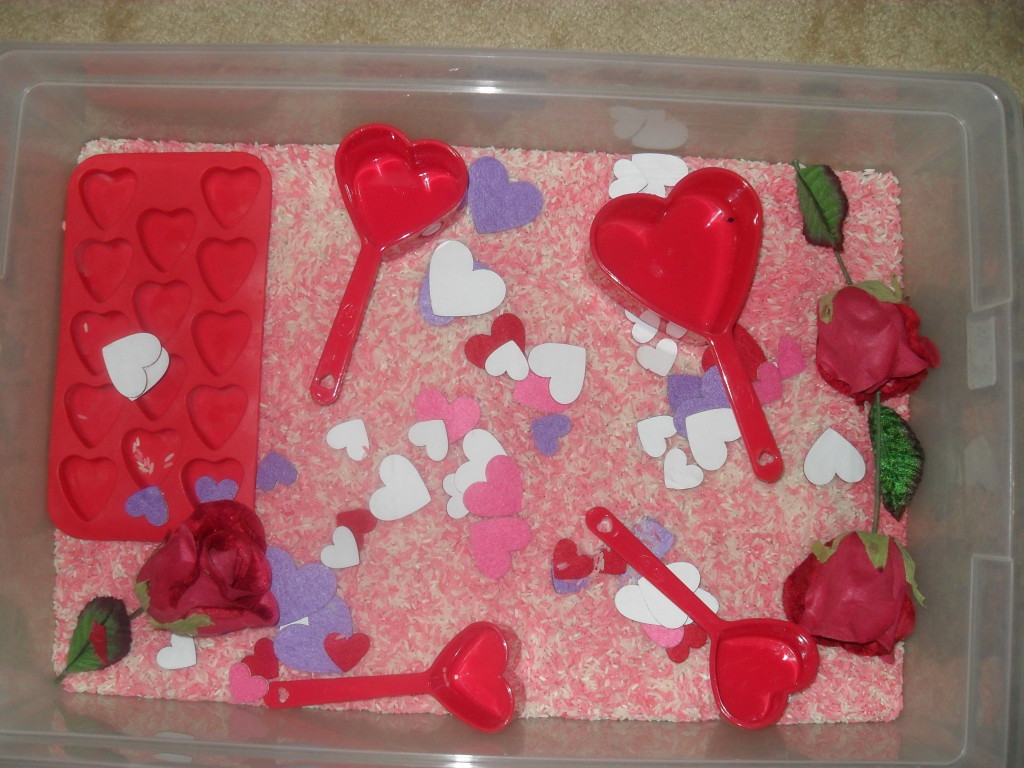
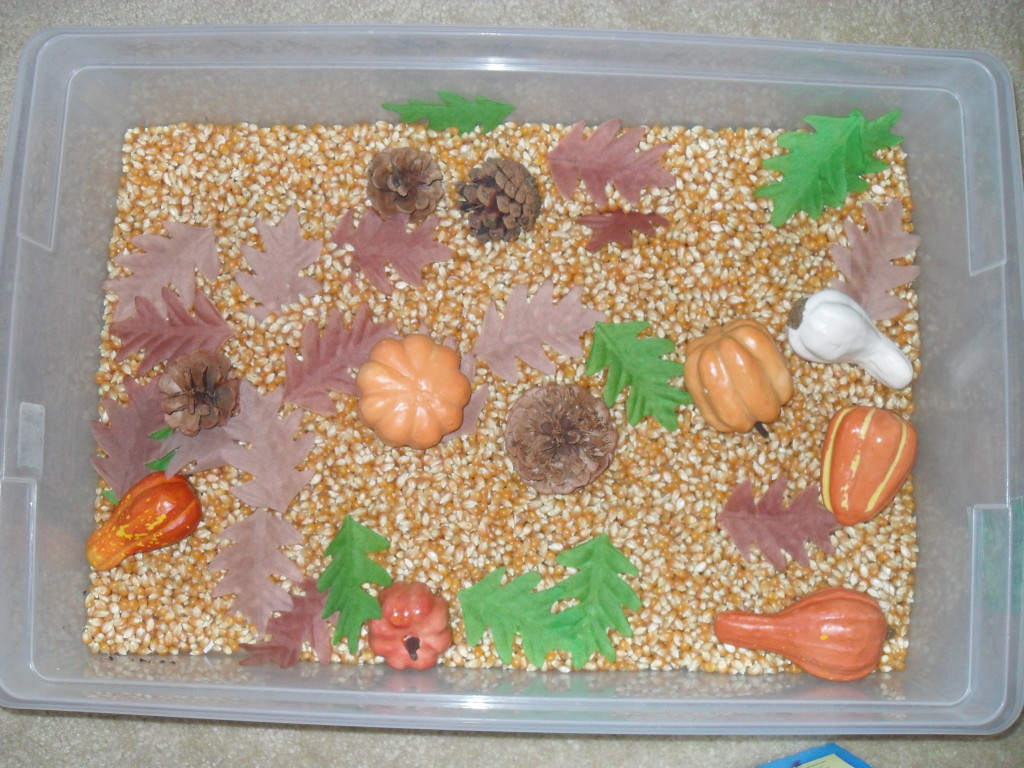
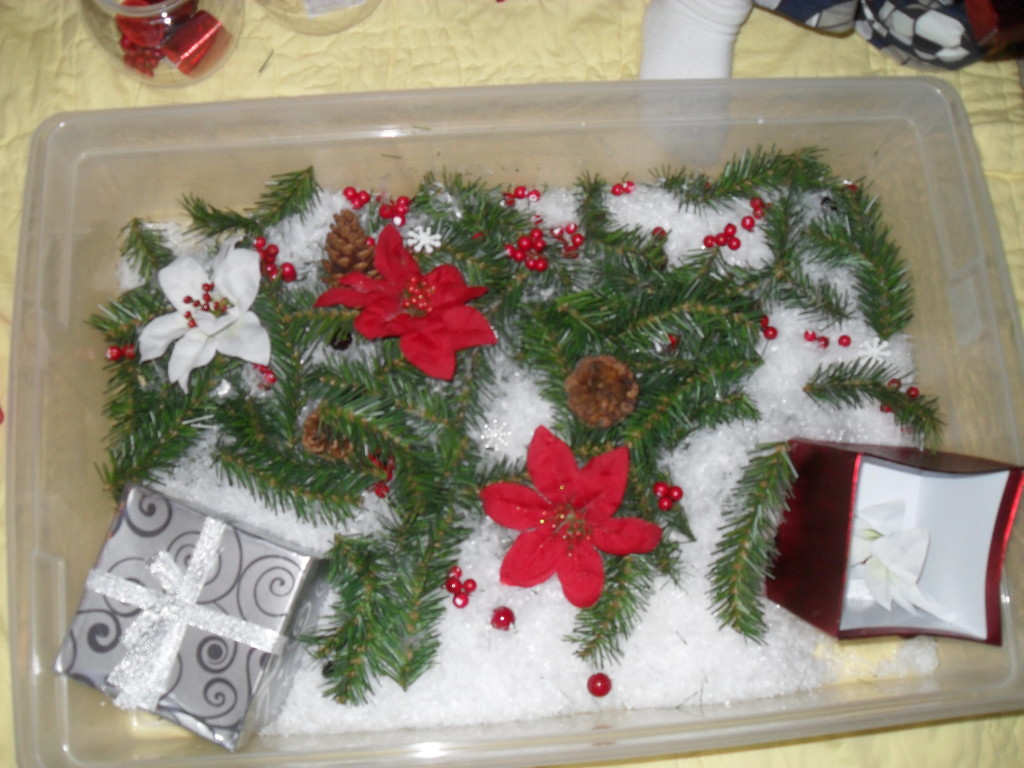
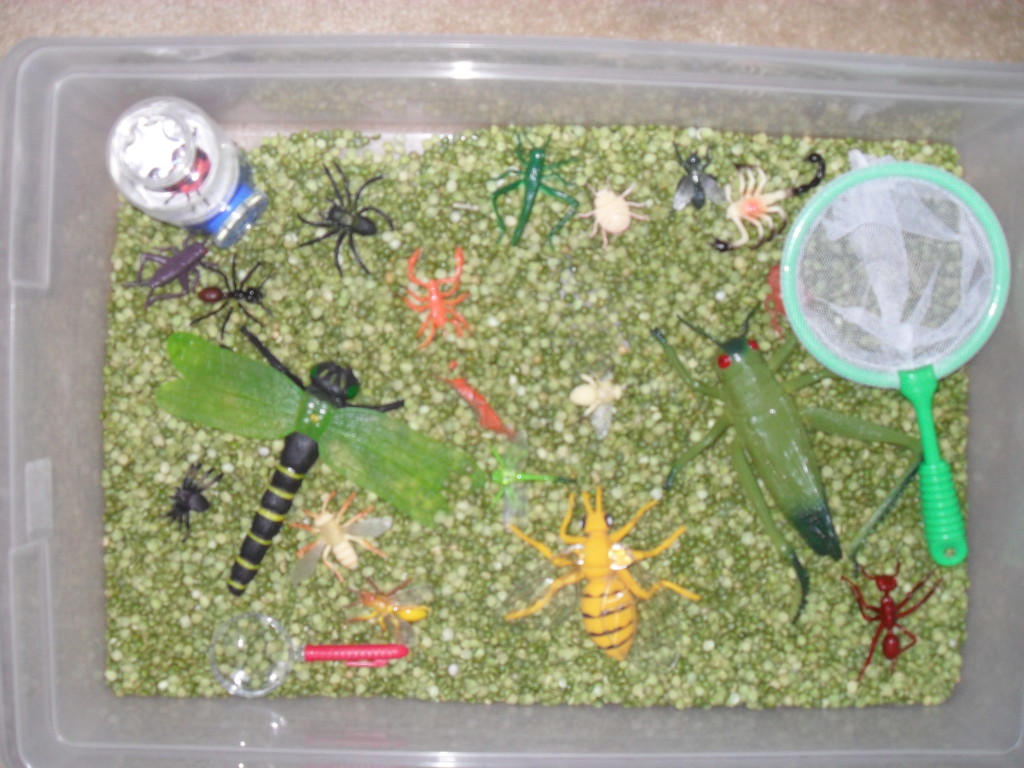
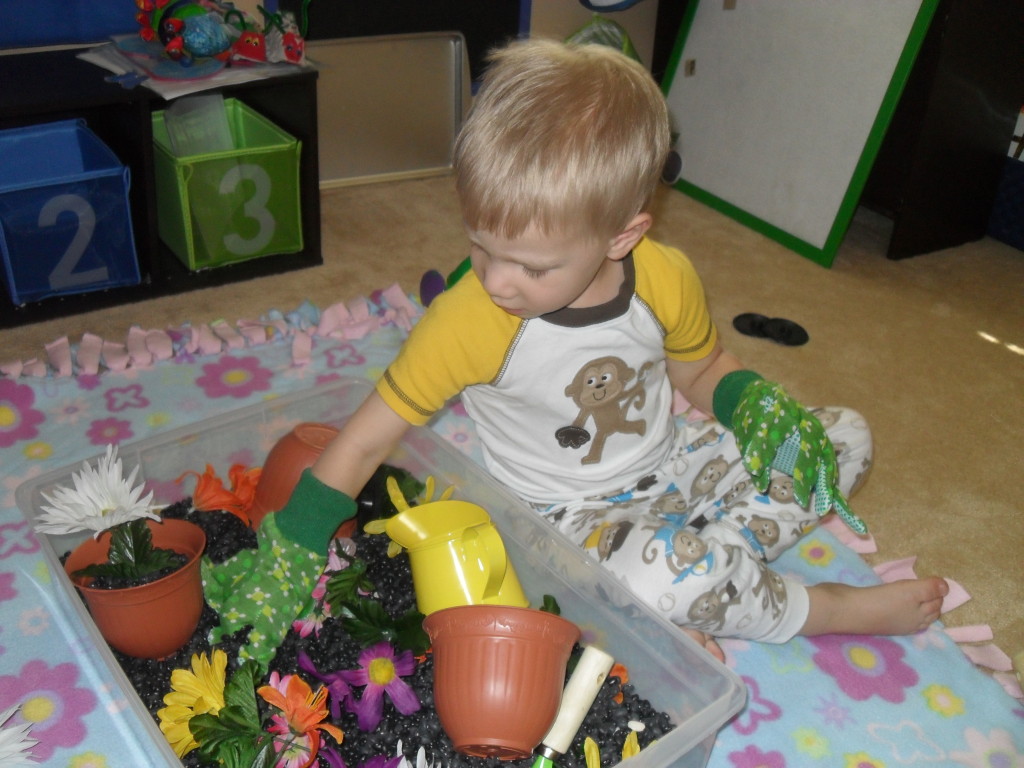
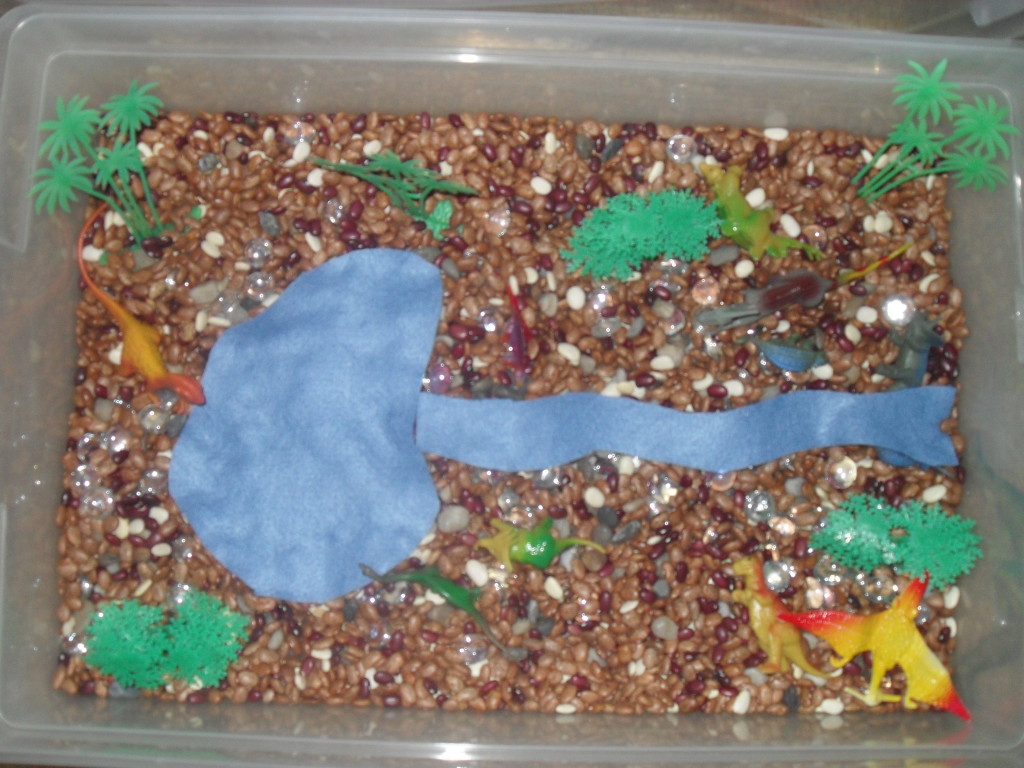
4. Use props to create a theme – This is completely optional, as most kids are perfectly content to just scoop and pour for a while. I like creating themes for our boxes just because it makes it more interesting (mainly for me) and allows me to change the sensory bin up while keeping some of the same materials. It also adds the option for imaginative play and allows for other skills such as sorting, counting, etc. If you choose to do a theme, first decide what that theme is, and then pick a few simple items to go along with it. For example, if you are making a Fall theme bin, add some silk leaves and plastic apples; for a Christmas bin, add some garland pieces, Christmas erasers, and small present boxes; for a gardening bin, add some flower pots, fake flowers, and gardening tools. The dollar store and Target dollar spot are great places to find little trinkets that are very inexpensive. Here are some ideas for different themes:

A few final tips
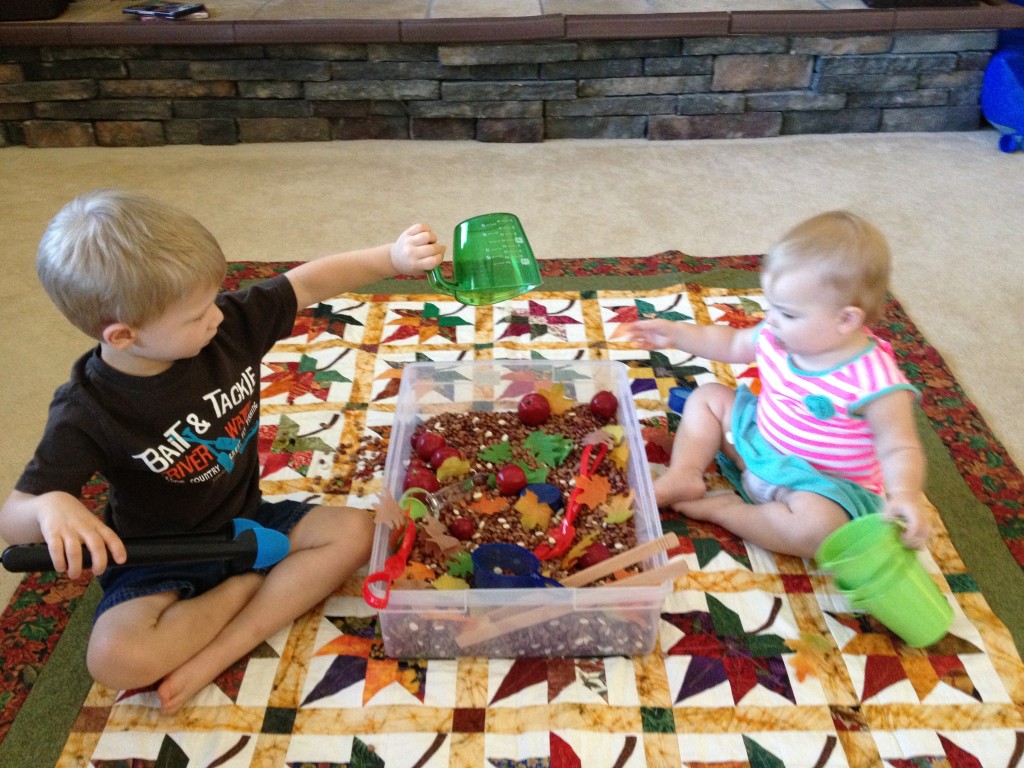
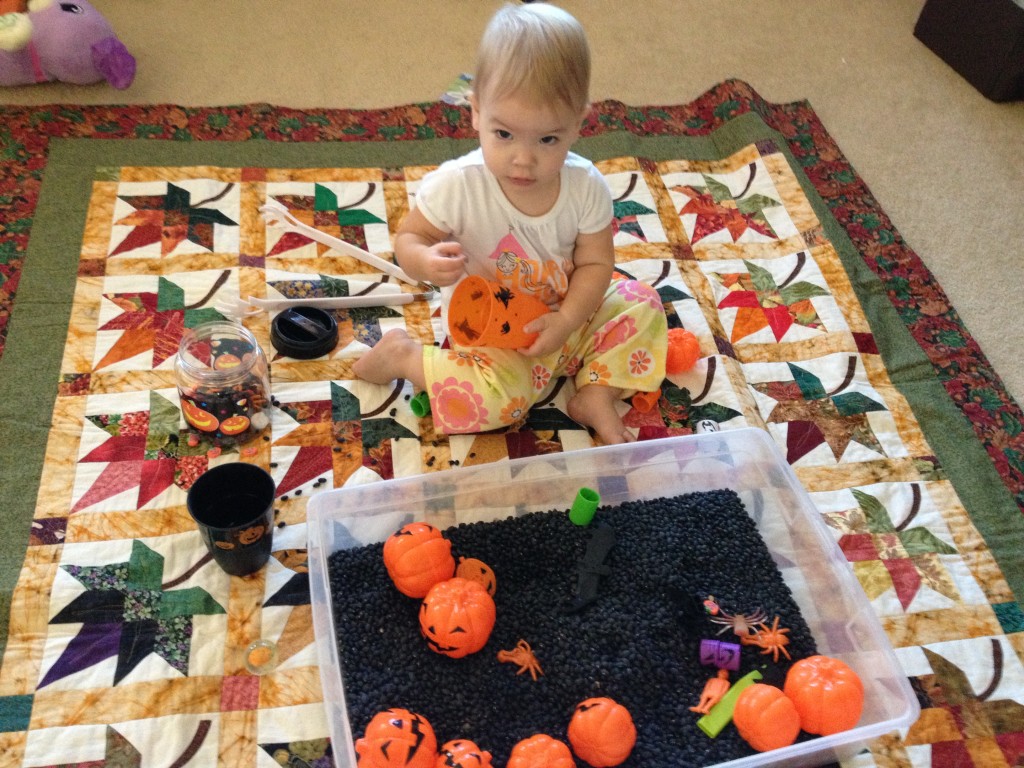
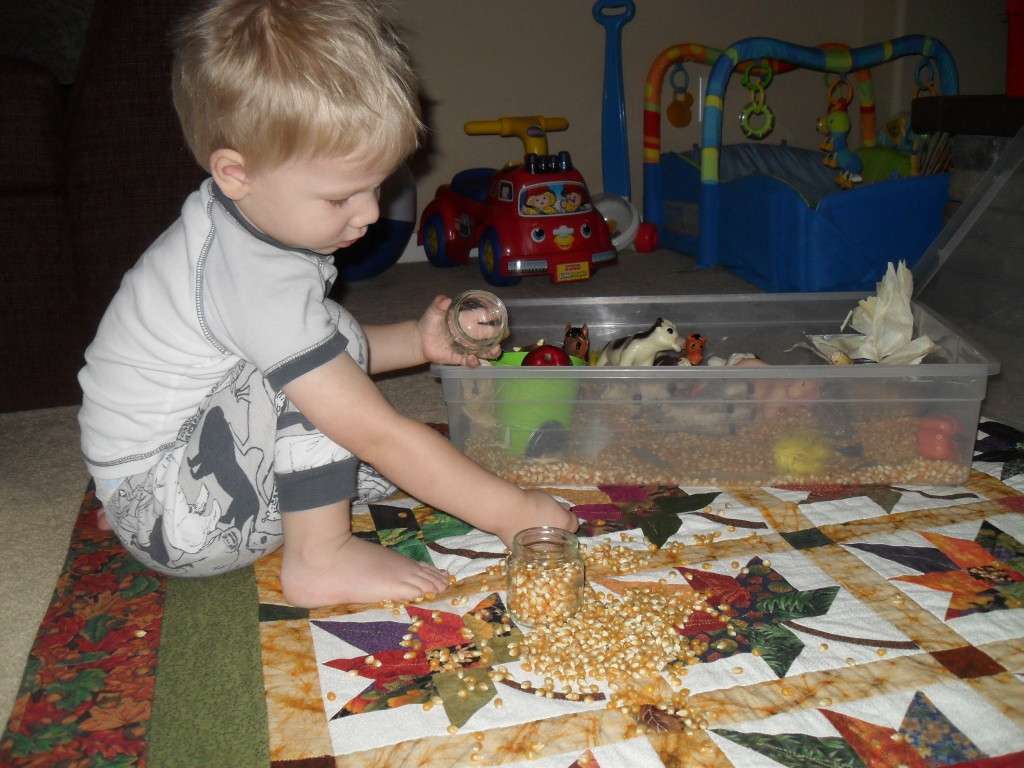
- Use a blanket underneath – I think one of the biggest deterrents to sensory bins is the mess. Using a blanket or towel underneath helps to at least keep the mess contained. Make sure to go over the rules with your child first, and remove the sensory bin if items are being flung everywhere. I used to ask that all items remain in the bucket. This worked great for my son, not so much my daughter. Our current rule is that everything has to stay on the blanket.
- Store and reuse your items – If you have room, save your sensory bin items to use again. I know some people that store the whole sensory bin together and just rotate through them. I store all of my items separate and have them sorted by filler items, themes, and tools, that way I can mix and match. Find a system that works for you, but reusing items makes it much more manageable and cost effective.
- If your child is getting bored, change it up – I found that as my son has gotten older he needs more of an imaginary element to keep him interested. Adding his construction trucks, animals, or play people help with this, or creating a theme such as gardening or ice cream shop all add that imaginative play to it.
- Don’t make it too complicated – I enjoy adding themes and changing it each month. If you don’t have time for that, don’t do it. Pour a bag of beans in a bucket along with some measuring cups and let them go to town! I’m sure you’re kids will enjoy it just as much!


I love this and have been really wanting to try it out with my girls!! I’m so excited to finally have that push to do it 🙂
You are awesome! Can’t wait to try this. Love ALL your ideas for different bins.
Robin your bins rock! Great article and you are the person who inspired us to make our first bin 3 years ago! Totally pinned your post!
This is really impressive for me. It will not only attract to the autistic children as well as it will also attract the normal children and everyone. This Sunday I will try these.
ark therapeutic in India
Nice blog regarding Autism, this blog really help the parents of autistic children.
drinking aids