


“Enjoy the little things in life… For one day you’ll look back and realize they were big things.” -Kurt Vonnegut
It’s amazing how quickly time passes when you have children. I feel like I had all the time in the world prior to my babies. But now, it’s like I have this walking, talking, breathing marker of the passage of time. And it happens so very fast! It seems like my first was barely learning to crawl and now she is two. She’s running wild and talking like crazy. I just had our second girl and I’m watching these newborn days pass by in a blur. Before I know it she’ll be running around after her big sister, and I’ll have two wild ones to chase after.
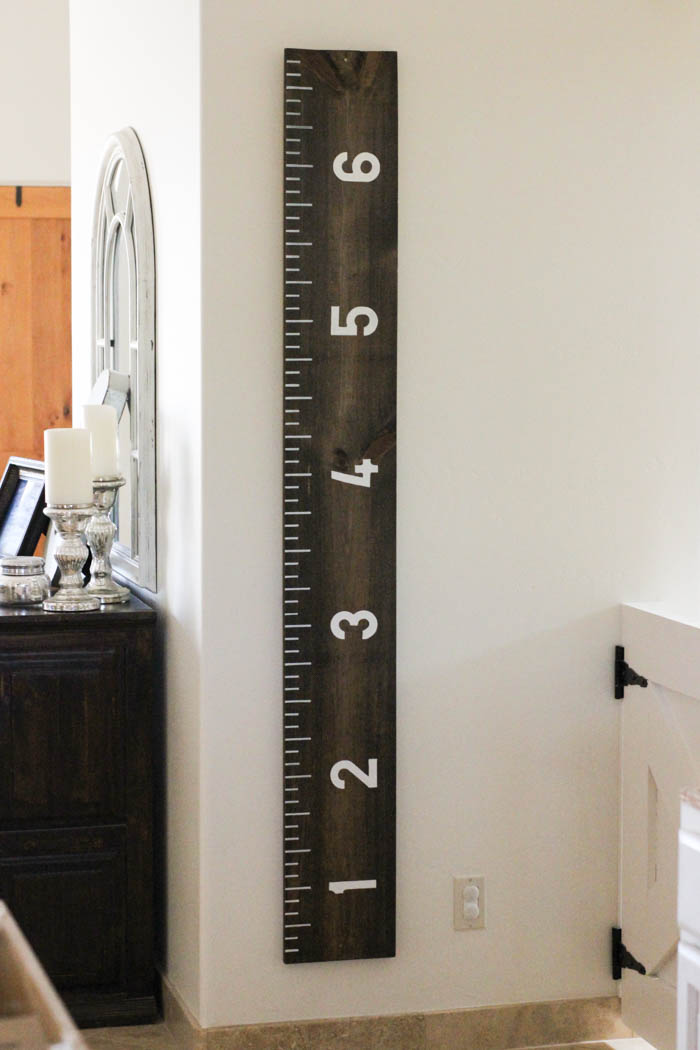
So I’ve been thinking of ways to keep track of the milestones and the memories, and I fell in love with those growth chart “rulers.” I loved the idea but not the price of the pre-made versions I found on Etsy and in stores. I’m a big DIY lover so I figured it’d be a piece of cake to make my own. There are tons of tutorials available, but I really think I’ve found one of the quickest and best looking versions around. Key item = paint marker! So here’s my how-to DIY growth chart and pictures to help you follow along. I hope you’ll enjoy it and hope it inspires you to keep track of all those little moments that add up to big time memories.
Materials Needed:
- 6 ft x 10 in common board
- Paint marker (black or white depending on the look you desire)
- Pencil
- ABC/Number stencils
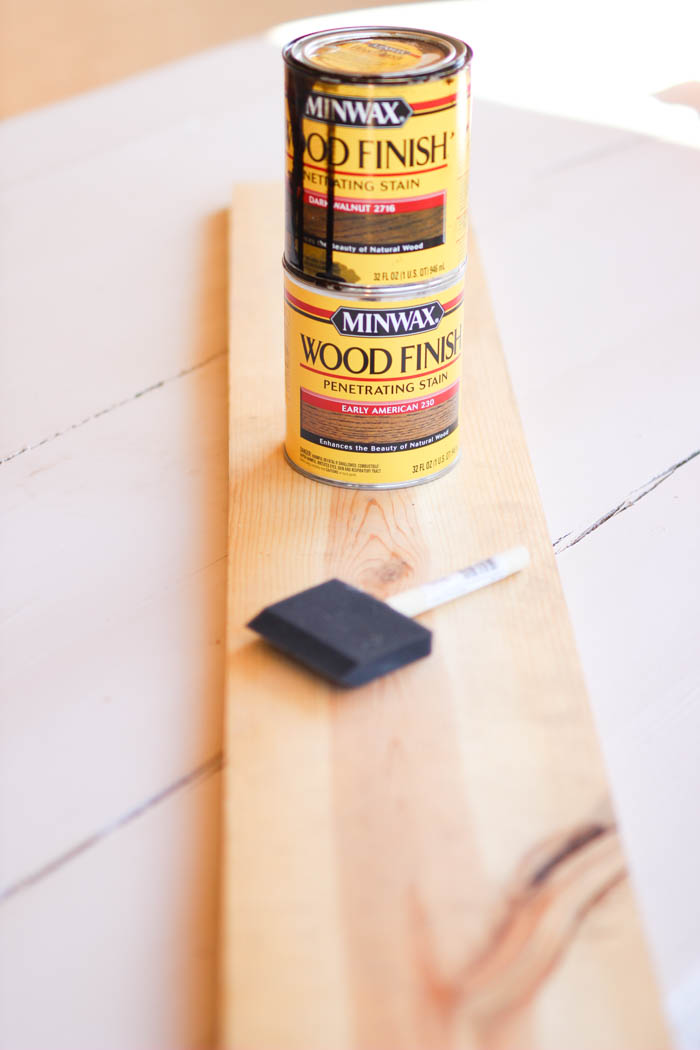
- Minwax stain in your desired color (I wanted dark so we went with Dark Walnut)
- Clear poly sealer
- Foam paint brush
- 3″ framing nails
- Ruler & speed square ‘T’
Steps:
Take your piece of common board, and sand if needed with a light sandpaper (I didn’t need to do this on mine, it was already pretty smooth). Pick your stain color and apply lightly with a foam bush. You can build the color easily by doing more than one layer or leave on longer for a darker color. Wipe off and then let dry. I actually let mine dry overnight before I continued.
 Wipe your board down with a damp cloth to remove any dust or residue. I wanted my ruler to begin at almost a foot high so that our finished product went to 6 1/2 ft. so that we could put my husband’s height on there as well. If you don’t have baseboards you can start directly on the ground, but if you have baseboards, I recommend starting at about 6 inches up.
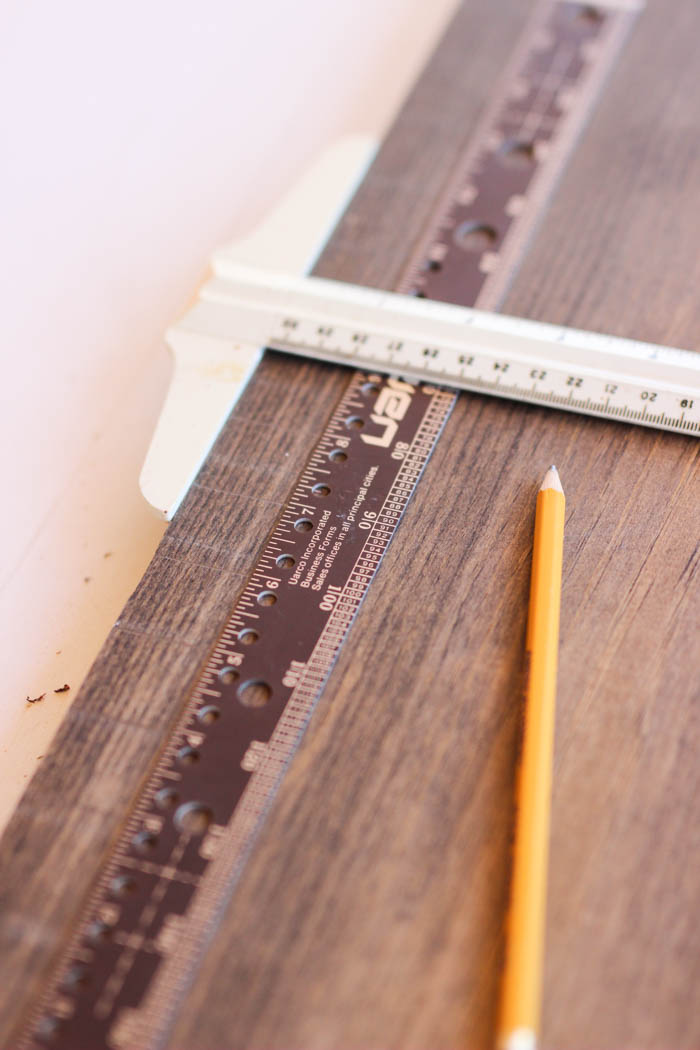
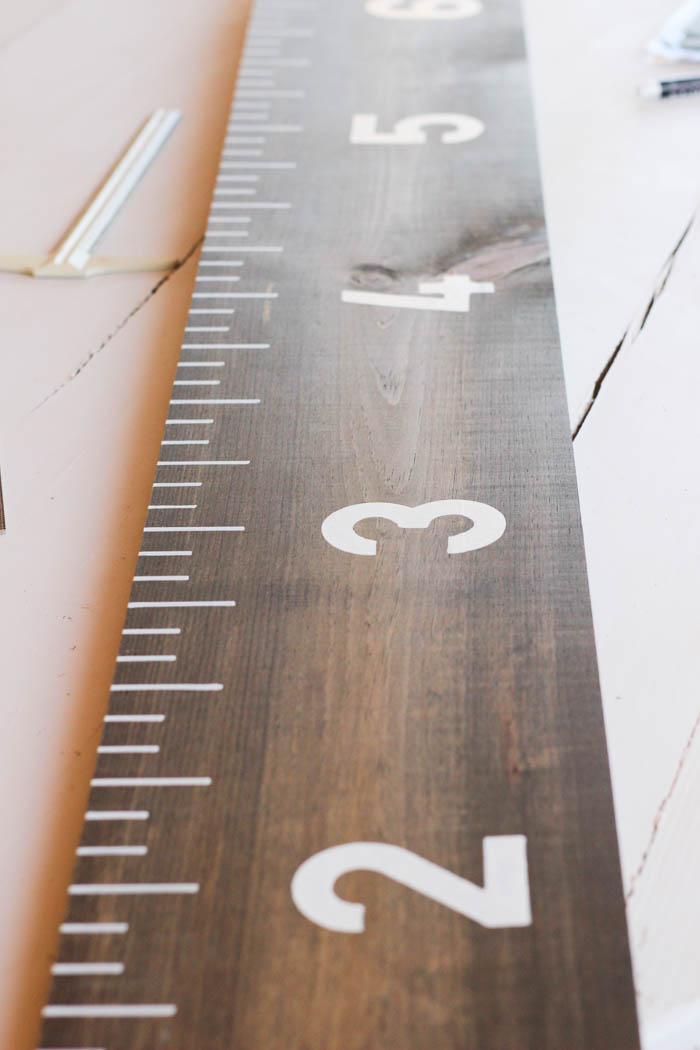
In order to get that “ruler” look, you’re going to want every third mark to be 2 inches long with the two marks in between at only an inch long. It sounds confusing, but you can check it out in the picture. Basically, every 3, 6, 9 & 12 inches you’ll have a longer mark. I took a ruler vertically then took a ‘T’ perpendicularly to draw out the hash marks with a pencil. I marked about 2 feet worth and double checked with an actual tape measure to make sure it was accurate. I marked the whole board, slowly moving up before going over the marks with my paint pen.
Double and triple check that all your hash marks are correct and that you’ll be placing the numbers in the right spot. Trust me, you don’t want to finish and realize a number is 3 inches off; it happened to me and I almost lost it!
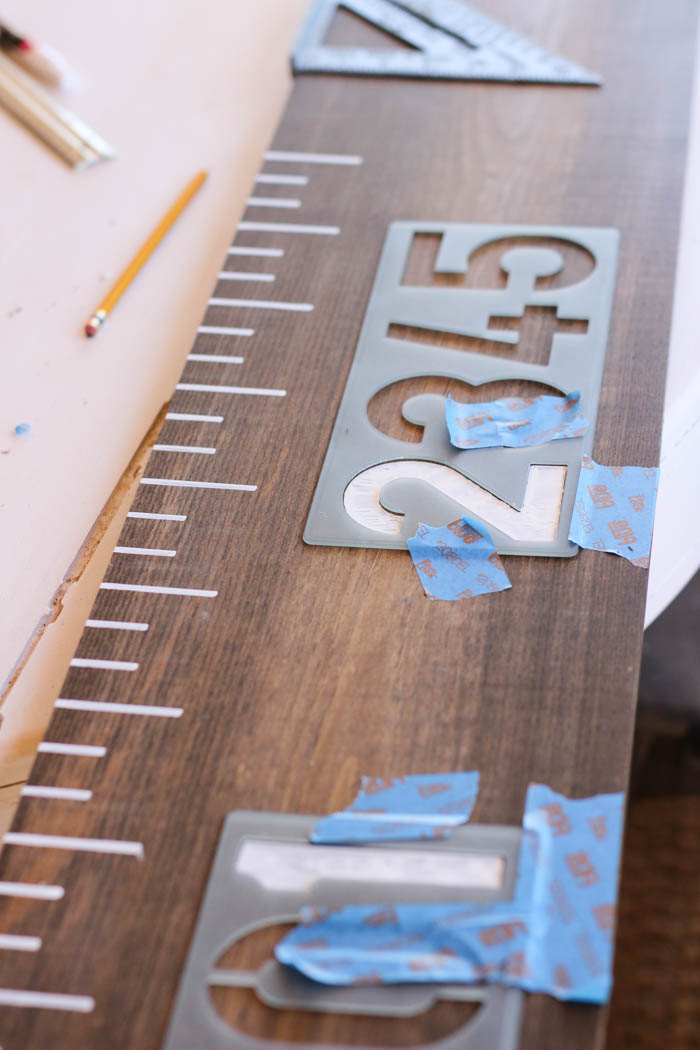
You can choose a black or white paint pen depending on the look you’re going for. I loved how the white stood out against the darker stain.
At every foot mark you’re going to want a number. I took my stencil and taped it down at each foot mark. I filled it in with my paint marker and each number took 2-3 coats. This process took a little longer than planned because the paint has to completely dry before reapplying, otherwise you’ll see the marks in the paint.
I let everything completely dry before spraying a coat of clear sealer over the whole board. I went with an aerosol spray over a liquid one because I think it’s easier to apply and no risk of bubbling if you put a little too much on.
You can hang it several ways: a nail with wire, a picture frame hanger, or just with nails. We went with nails since we don’t have any plans to move it anytime soon, and we wanted it to be very secure since it’s in a high traffic area. Plus it goes along with our rustic look.
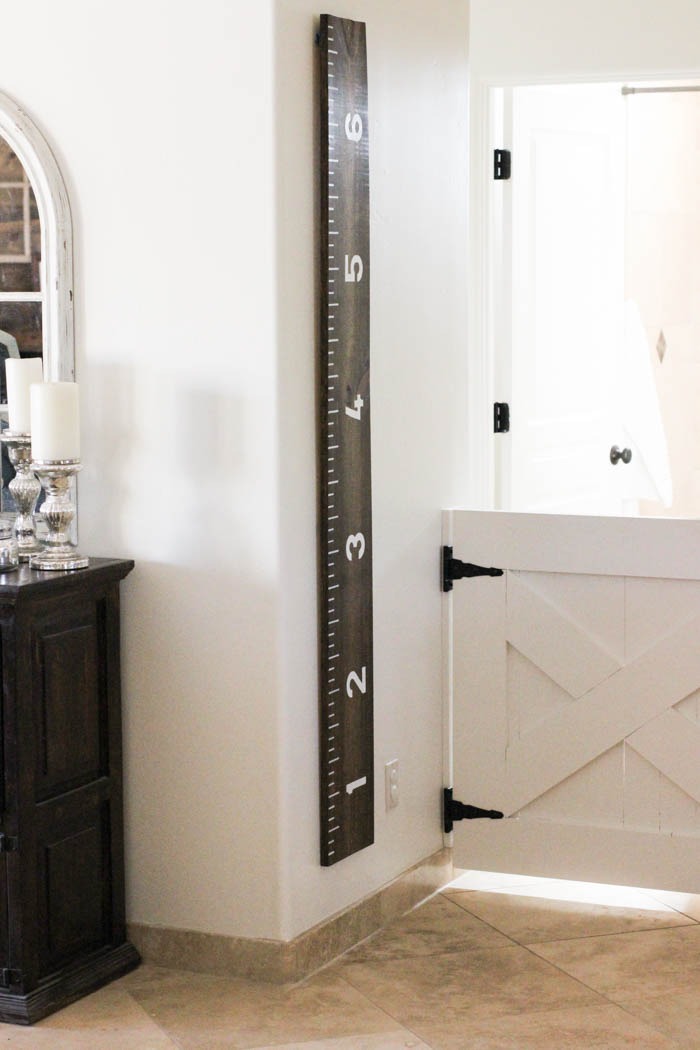
And you’re done! Get your little ones measured and make sure to put yourself up there too. I still get a kick out of knowing I’m a hair taller than my mama; it drives her crazy!


Love this! Sending it to the hubby now for a future honey-do project 🙂
Thanks Jacqueline! I actually did this one all by myself and it was so easy. Just have Home Depot/Lowes cut the board to the desired length. xoxo, Ashley
Love! What do you use to mark heights on the board?
Thanks Jackie! I just use either a white or black Sharpie marker, colors totally your choice!