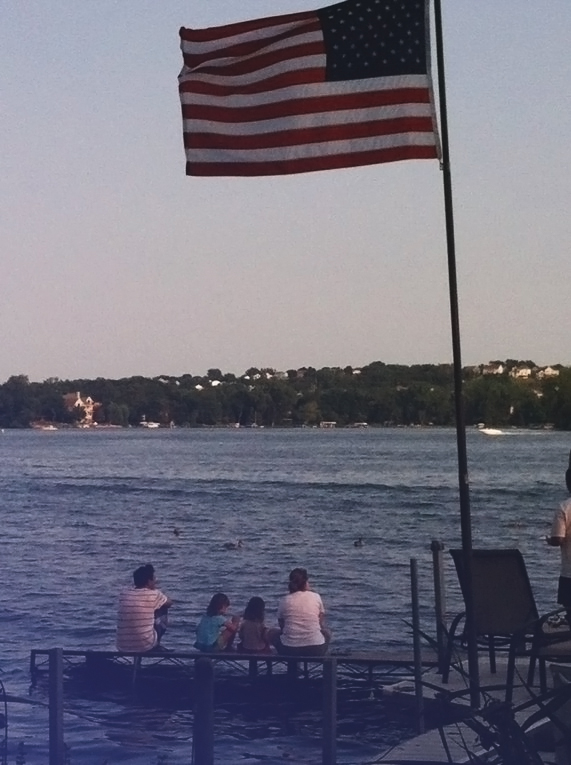
The 4th of July has always been one of my favorite holidays. Spending time with family, BBQs, being on the lake and sparklers! I’ve lived in AZ for 12 years now and have learned that the 4th of July is the perfect summer getaway. It is so stinking hot here in the desert and we are usually more than ready for some cooler temps by then. We’ve gone to my hometown in Minnesota numerous times where we spend lazy days on the pontoon and watch the fireworks displays across Crystal Lake from my dad’s dock. We’ve also ventured up to northern Montana to visit my in-laws several times and even helped run the beer tent at the local 4th of July festival one year!
Needless to say, this holiday has a lot of great memories for me and my husband, and I love getting to share it with our daughter now too. Last year was our first 4th of July with a kid and we made the brave trip up to Minnesota with her at 5 months old. She actually did amazing and really put us at ease for traveling with her. Now as a 1 ½ year old she may be a bit more of a handful, but she is so FUN! As she gets bigger, I can’t wait to teach her how to steer the boat, make s’mores, and watch her chase fireflies and run around with all her little cousins and friends.
With my love for this fun, family-oriented holiday I decided that we had to do the ultimate cheesy family schtick and have matching festive outfits! Last year, we made the cute (almost requisite) footprint flag shirts that you can find all over Pinterest. Even though they are adorable and it would be fun to see how much bigger her feet have gotten, I decided to switch it up this year and make these fun 4th of July shirts with star prints. And let me tell you, it was SO EASY and a lot less messy. So, here are the steps!
DIY 4th of July Shirts
Step One
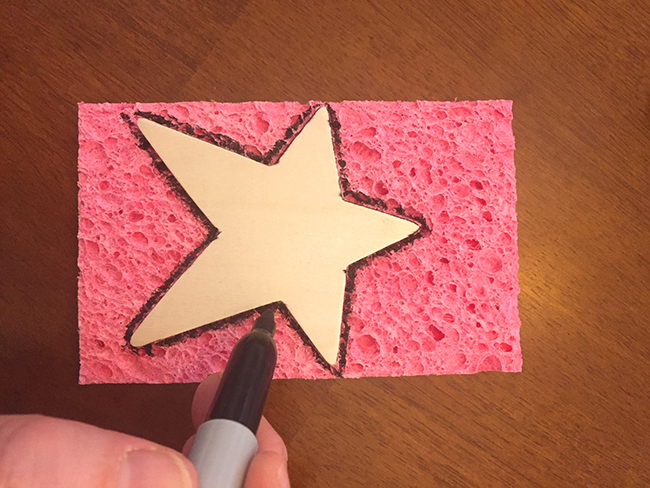
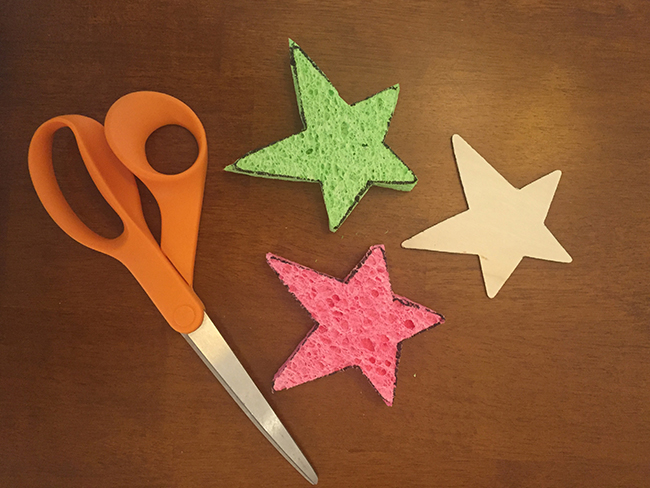
Star shaped sponges… okay, admittedly I thought these would be much easier to find pre-cut at a craft store but alas, I could not find them! But instead of scrapping the idea, I just decided to make my own. I was able to find star shaped decals at the store, so I simply traced them out on a sponge and cut them out myself. This took only a couple minutes and it was kind of fun to get to pick any star shape I wanted. I went with this one!
Step Two
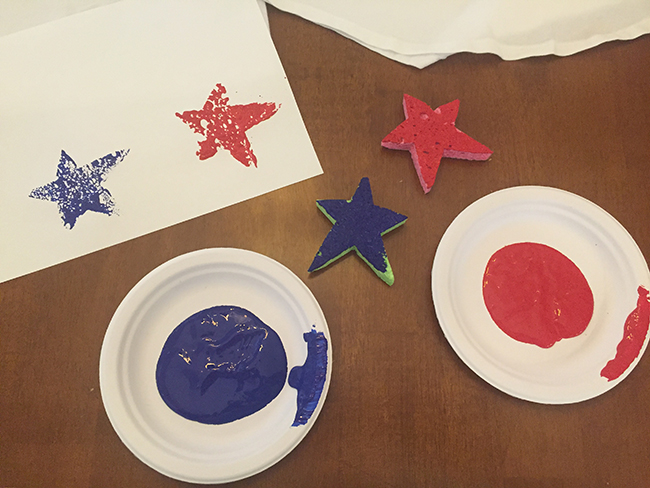
Paint: red and blue. Easy Peasy! (I did use acrylic paint so it wouldn’t wash out of the shirts. It’s still very easy to clean off fingers too – just wash with soapy water.) I’d recommend trying out the sponges on a sheet of paper before going after the shirts, just to test out the amount of paint you will need. I kind of like the more washed out looking stars with less paint, so it took a couple tries to get it figured out.
Shirts. My go-to place for basic, comfy tops for crafting is Old Navy. We found these white shirts – one for baby, one for me, and one for daddy for less than $20 on sale. Score!
Step Four
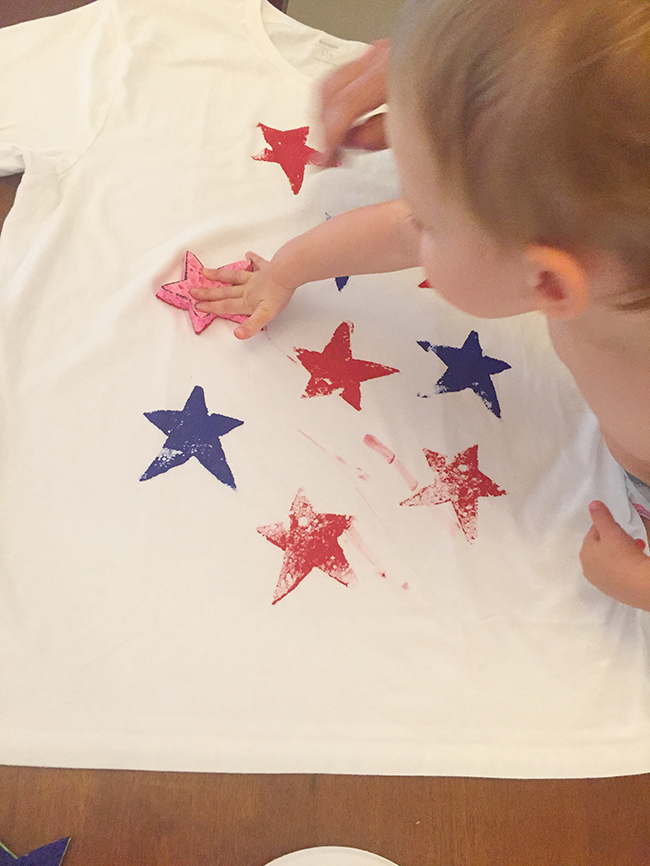
Stamp away! Part of why I wanted to switch up the shirts this year was to let our kiddo do more of the fun, crafty part. She loved getting to push down on the stamp and see the star she made! My husband let her go nuts on his shirt and I think his is the best one ☺ I actually liked the imperfections and streaks so much that I had her add some to ours too!
Let DRY. Don’t rush this, you want to make these at least a day to be sure the paint dries.
Step Six
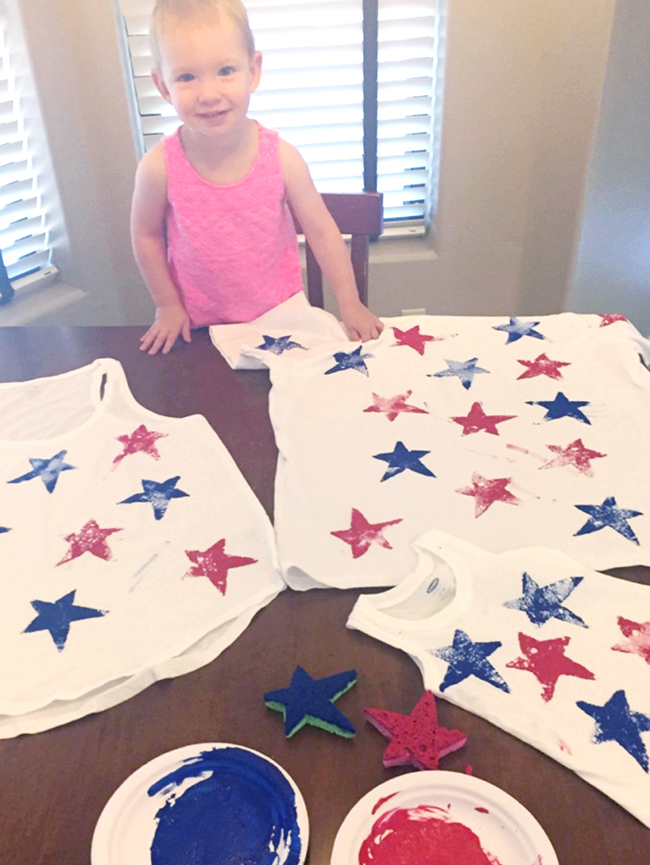
Rock that awesome coordinated patriotic family style!
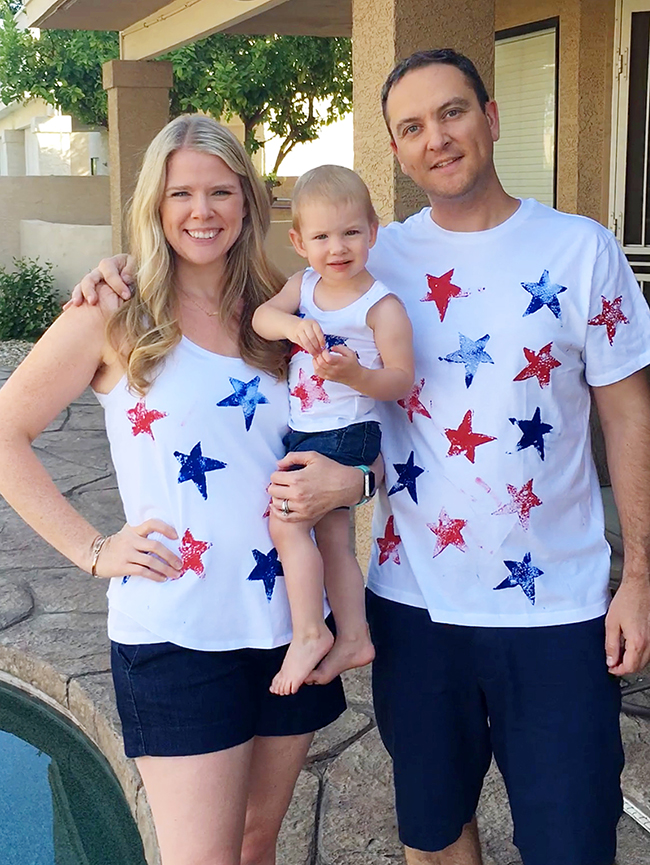 Wishing you all a fun, happy and safe holiday!
We’d love to see your cute families decked out! Do you do 4th of July shirts? Be sure to tag #nphxmoms.








So cute going to make these this weekend
Cute shirts, did you use regular craft acrylic paint?
What kind of paint was used so these can be placed in the washer and not get ruined
So I made these. Everything turned out fine. But the paint bled through to other side of shirt. I think it would of been good to post that there needs to be some kind of cardboard inside shirt before stamping also because of no cardboard while drying the shirts inside got stuck together and had to be peeled apart because of paint.