


Hello Everyone! Happy Holidays! My daughter and I want to share with you some of the Christmas and winter crafts we have been doing. We enjoyed doing these while listening to Christmas music. It was a fun way to count down the days to Christmas!
Let’s start with my favorite! We made a “stained glass” nativity scene. I cut out a nativity silhouette out of construction paper. (I found a template here or you can do a google image search for one. Or, if you are really crafty and artistic, freehand it!). This we stuck to contact paper and I had little E stick tissue paper down to create the stained glass effect.
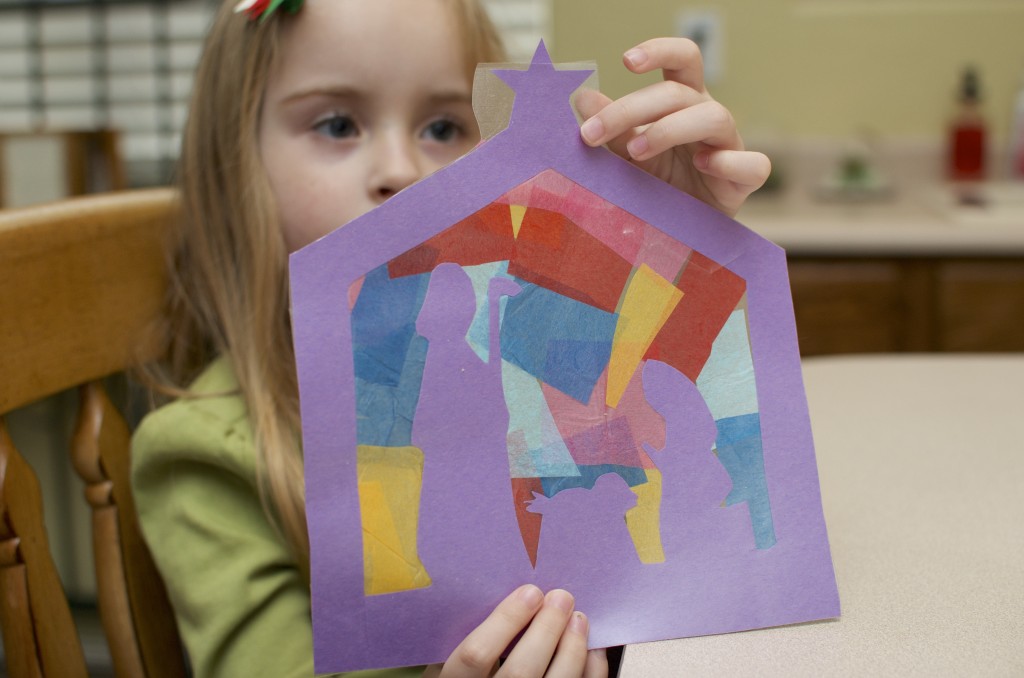
It looks so pretty hanging in our window!
We also did a thumbprint candy cane. So easy! This one would make a great card or keepsake for the grandmas! Just alternate red and white thumbprints. Easy!
We did some Christmas lights with a chalk “glow”. I cut a stencil out of cardboard and had her trace it with chalk. Then we used our fingers to create the glow and added a string.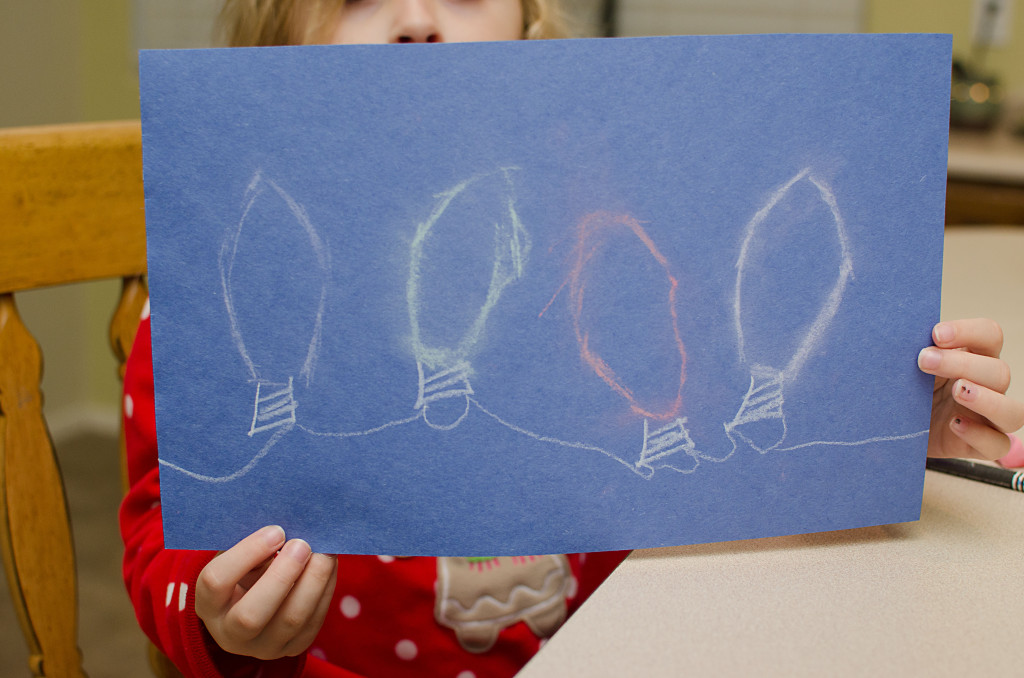
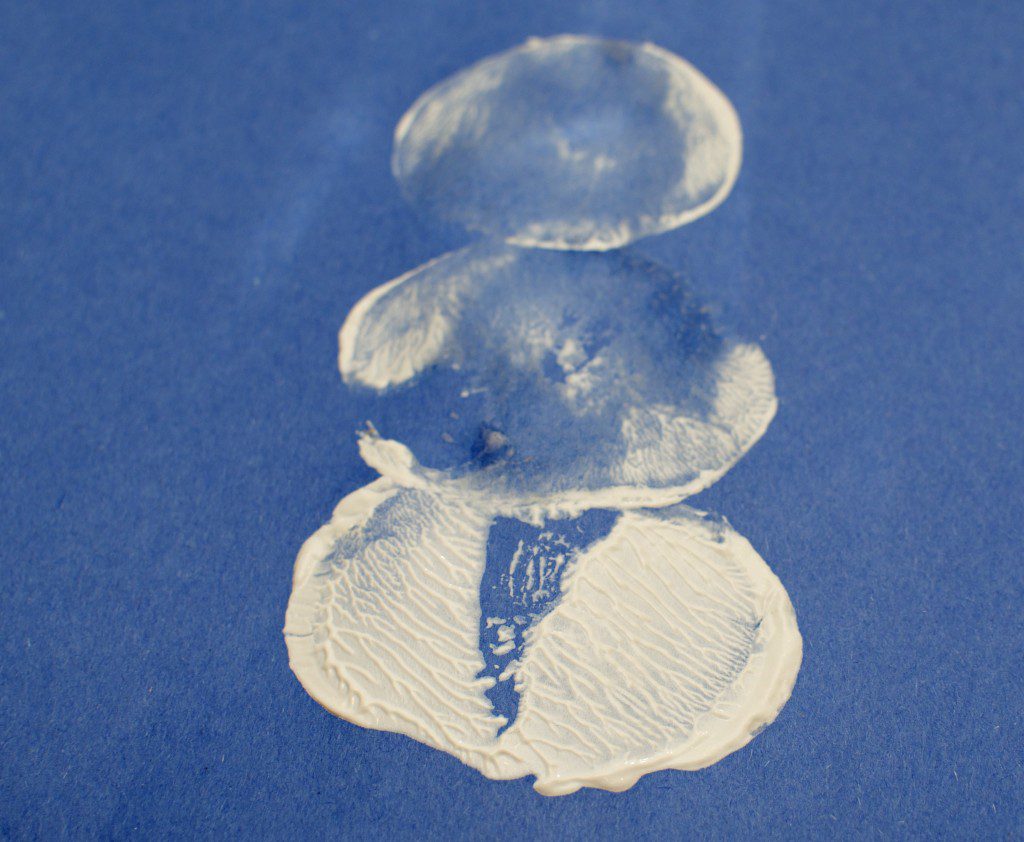
Potato stamping is a fun activity my daughter enjoyed! We made snow men. I let them dry overnight, then had her add the details (eyes, mouth, buttons) with a marker the next morning.
I love how they look hanging in her play room.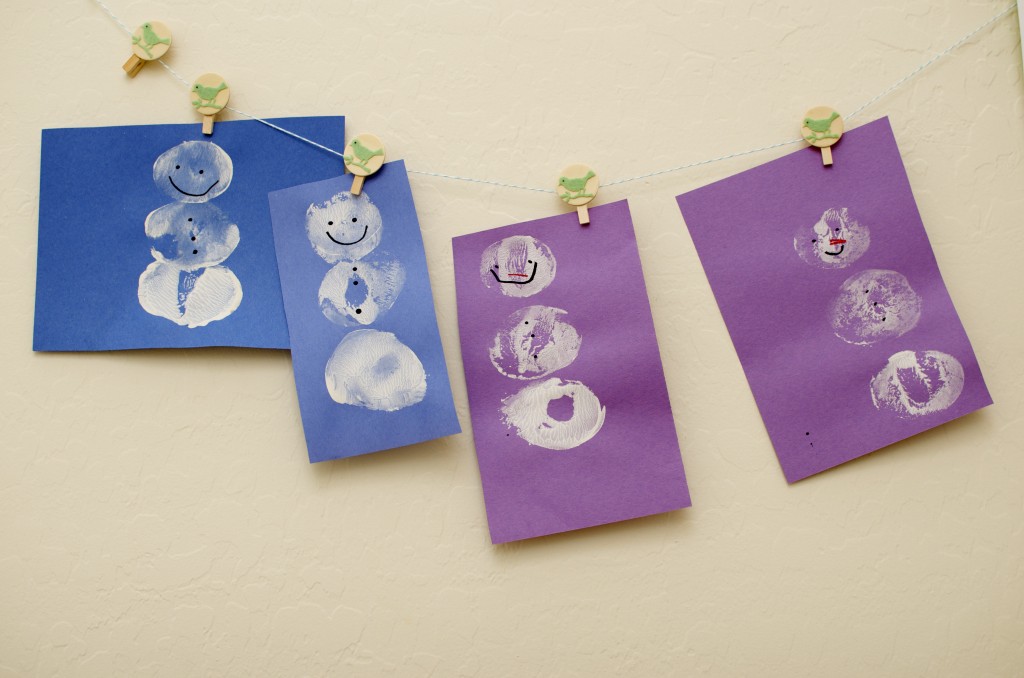
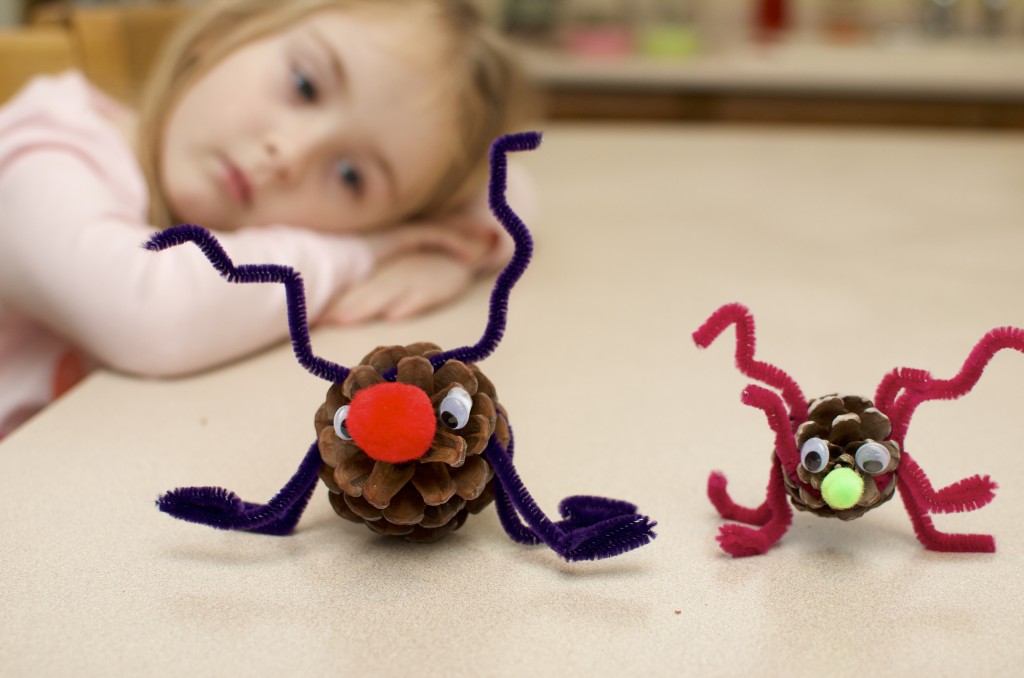
For our Rudolph and his green nosed friend (?) we glued pom poms and google eyes to pine cones. We used pipe cleaners wrapped around the pine cone for their legs and antlers.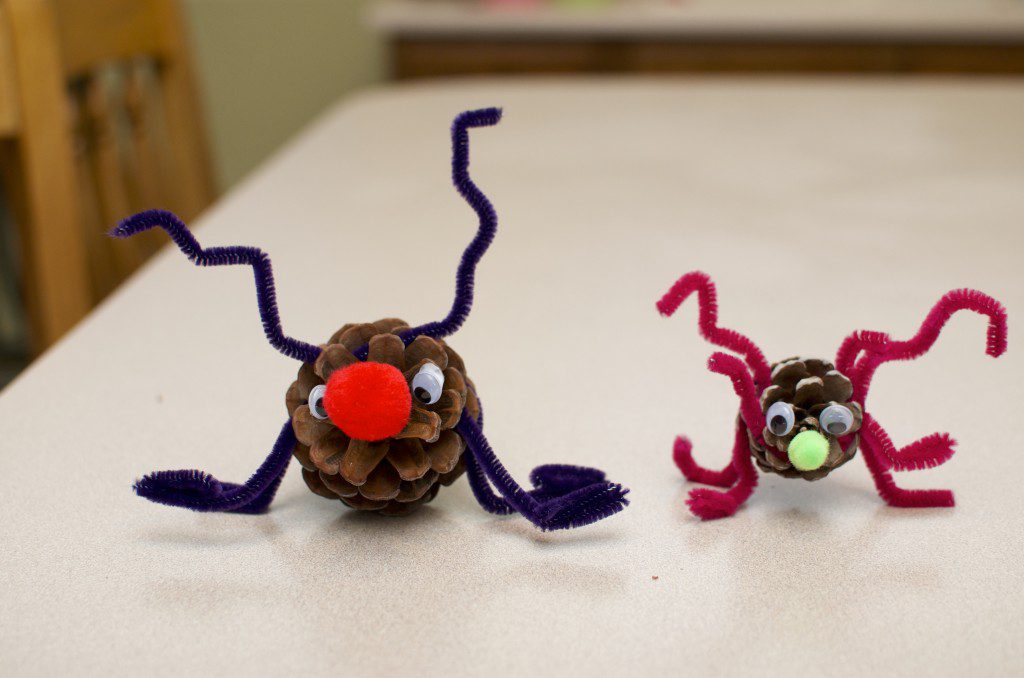
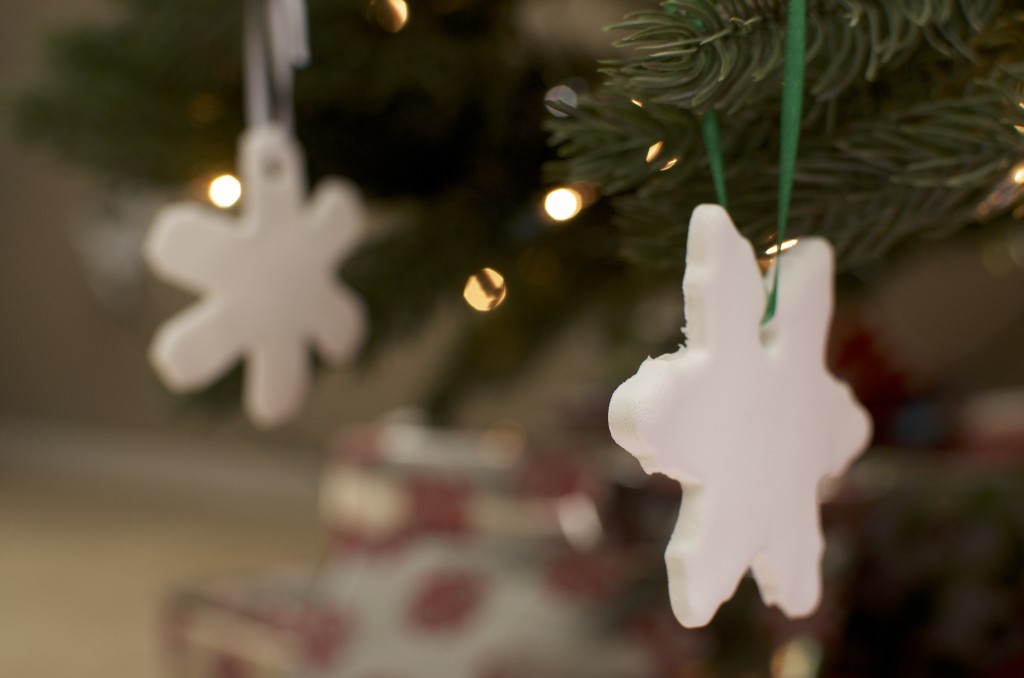
This was a fun new material we had never played with before. We used Model Magic to make ornaments. This was so much fun, made even more so because we did this project with friends. The kids loved making an afternoon of it. We simply rolled out the dough, used cookie cutters for the shapes and a straw to make a hole. Once they were dry, we put a ribbon through the hole and hung them on the tree. I also put some on Christmas packages. I wrote my daughter’s name and the year on the back with a Sharpie. 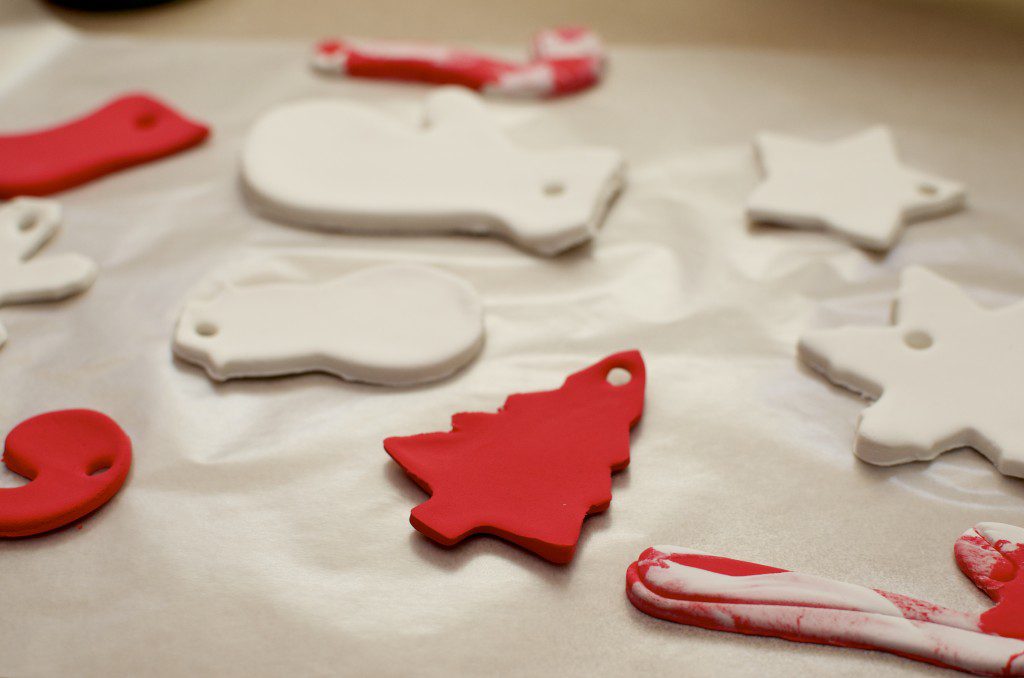
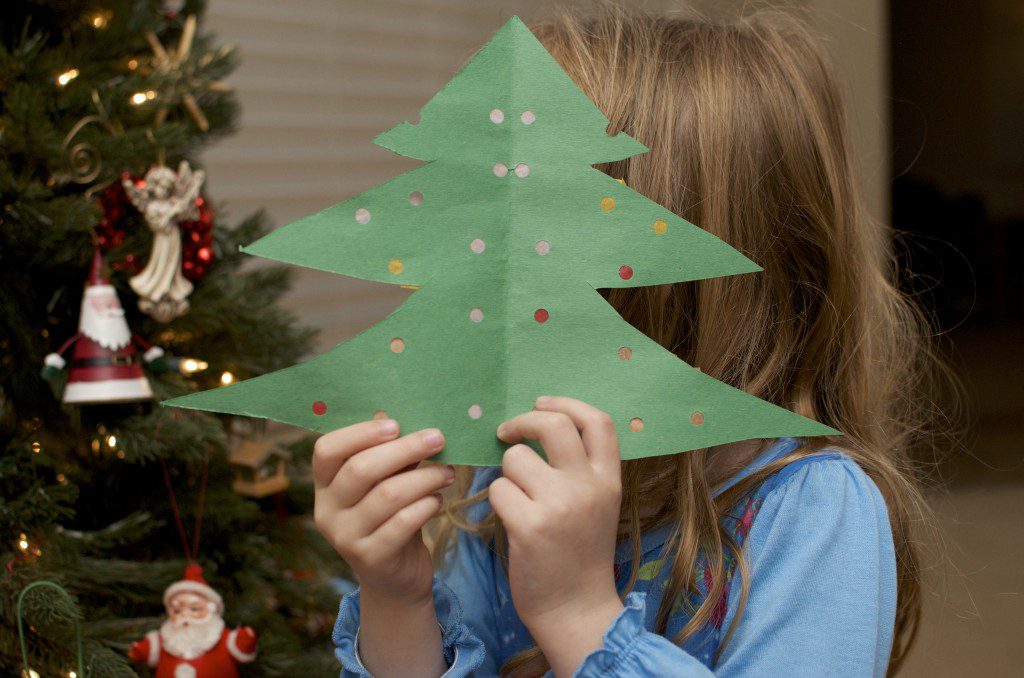
This little tree is a craft we have done for the past few years. E really likes it and it’s so easy! Cut out a tree shape (or draw one and have your kiddo cut it out) and punch holes in it with a hole punch. Then use a glue stick or tape to place tissue paper over the back, making sure the holes are all covered. The result is “lights”. We ended up hanging this one on our tree as well.
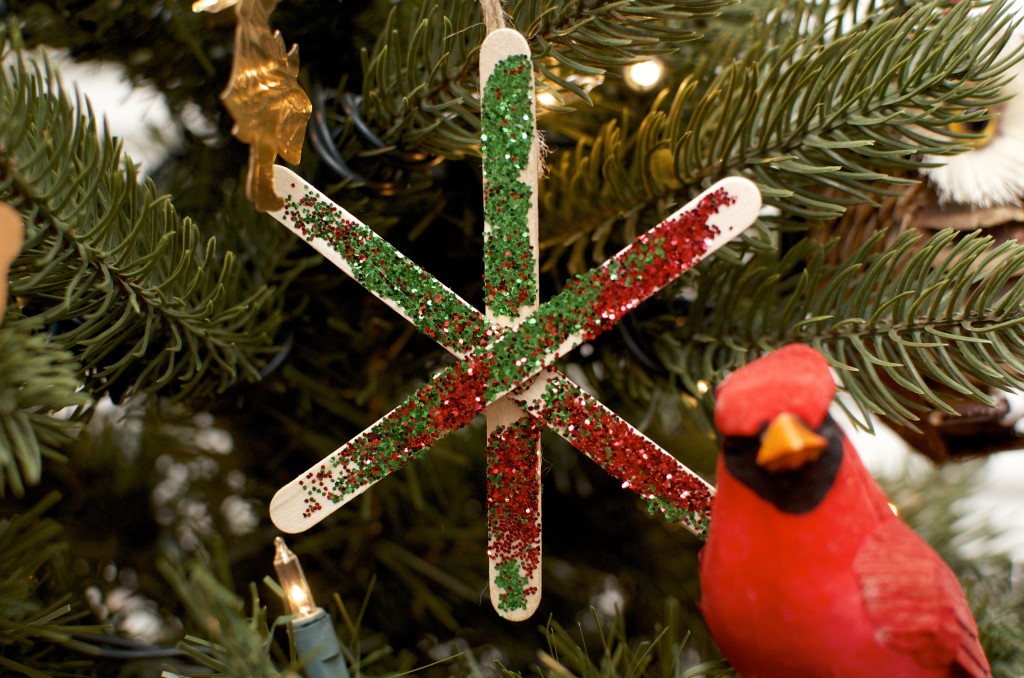
This fun little snowflake was made with a group of MOMS Club friends one sparkly afternoon at the library. Use a glue gun or glue to make the star shape out of popsicle sticks. Put some more glue on the surface, then dip in glitter. The major glitter spill that followed this fun is optional, and not really recommended. But the kids had fun! And we got a nice ornament out of it.
I hope you have found some time to enjoy crafting with your little one this holiday season! These crafts and many, many, many more can be found on Pinterest!


Love seeing you do the nativity project. I’m so glad you used the template I created. Thanks so much linking back. Great projects here.